Scratches at the Start and End of Every L18050 Print: Two Causes, One Tissue, Three Minutes
Published 16 July 2025
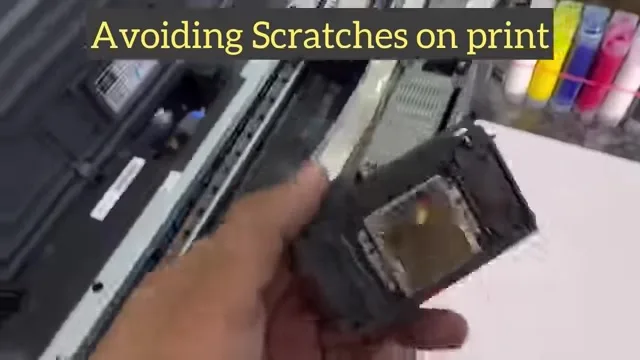
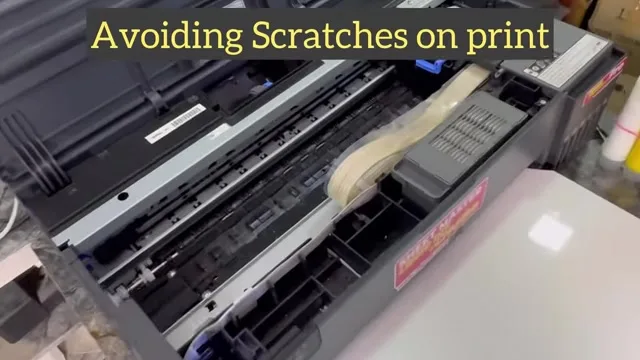
Scratches at the top and bottom of the print, not in the middle, on a converted L18050 with an XP600 head. Two causes, and both are fixed in three minutes without taking anything apart: the film is dropping before it lands, or there is dirt on the underside of the head. This clip is the second fix: a folded tissue, cleaning solution, and the head slid over it by hand.
What the video shows
- 0:00 — XP600 head on the L18050; scratches at the start and end of prints
- 0:29 — Cause one: film not landing on the tray immediately
- 0:45 — Cause two: dirt on the underside of the head
- 1:01 — Fold a tissue; cleaning solution, never eco-solvent solution
- 1:36 — Switch off; pull the power as the head moves left
- 2:10 — Slide the head onto the tissue; rub slowly
- 2:30 — Power back; switch on; five-second clean; print
Read the scratch
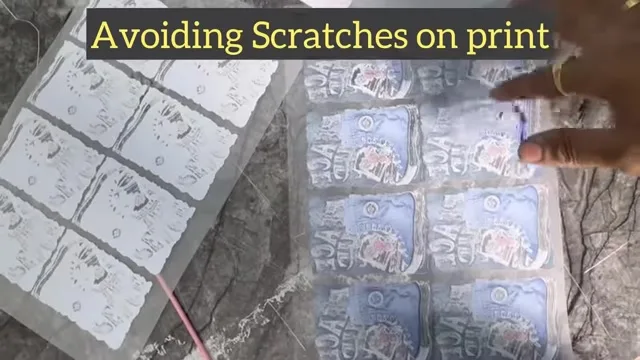
Scratches only at the beginning and end of a print mean the film is being touched as it enters or leaves, not throughout. Either the output tray is too low and the film droops then lifts, which is fixed by setting the tray, or the underside of the head has dried ink or dust that drags across the first and last passes.
The tissue fix
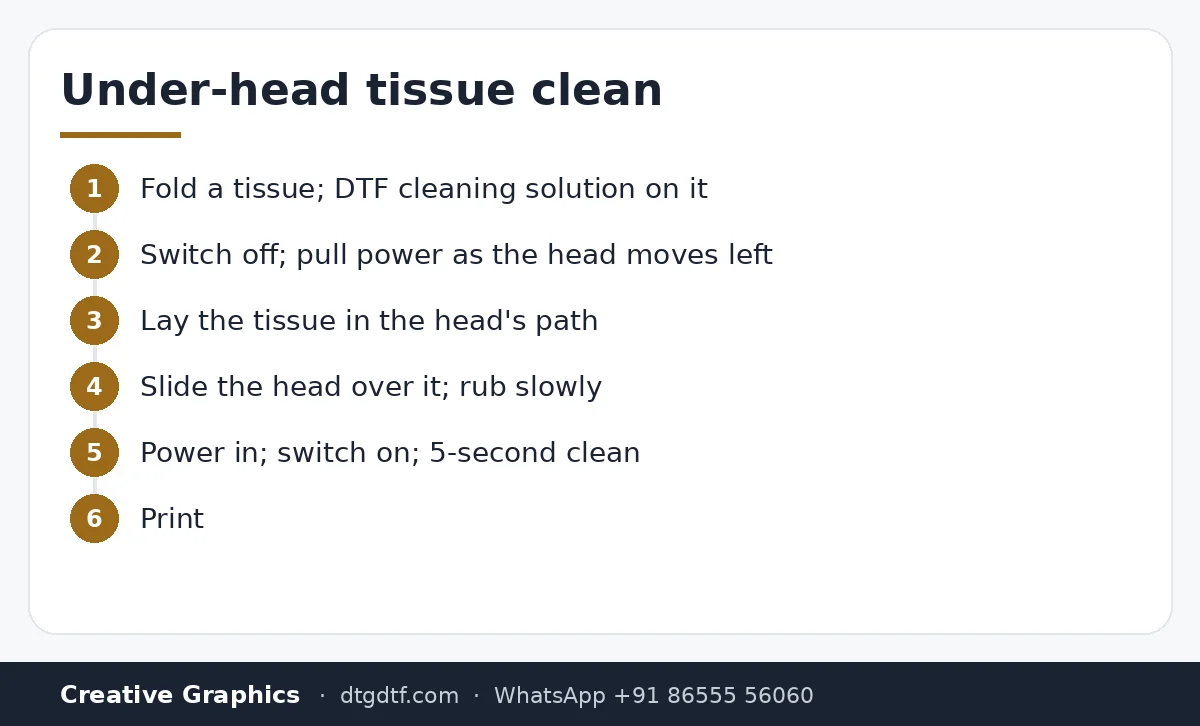
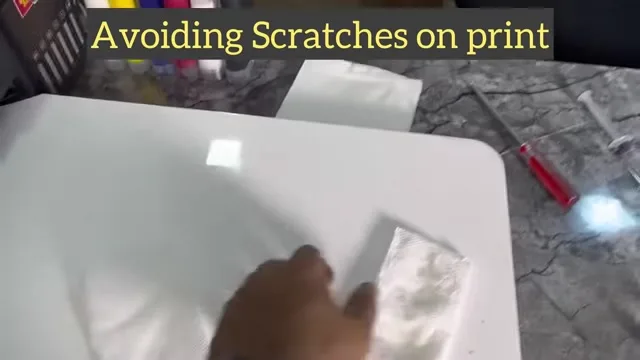
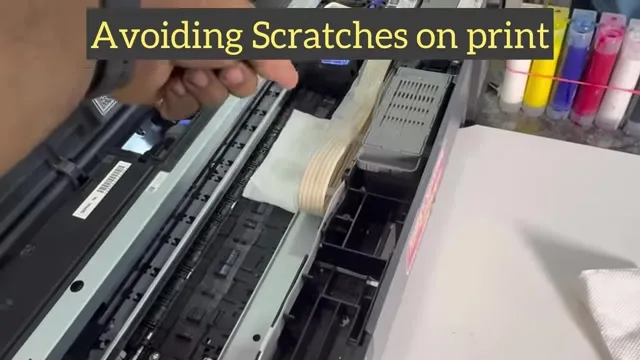
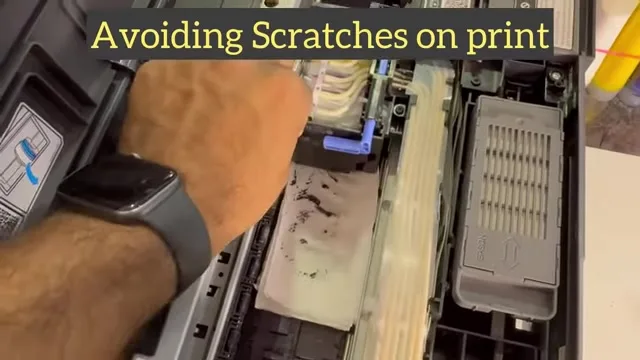
Fold a tissue, pour DTF cleaning solution on it; not eco-solvent solution, which attacks the head. Switch the printer off, and as the head moves left pull the power cable so the head is free. Lay the tissue where the head will pass, slide the head onto it and rub slowly, back and forth. The dust and crust under the head comes off on the tissue.
Back to printing
Plug the power back in, switch on, hold the clean button five seconds, print. No damper off, no syringe. If scratches continue in the middle of prints too, that is the exit side; see scratches over the print. Solution: here; the daily routine that prevents this: here.
Frequently asked questions
Why are there scratches only at the start and end of my prints?
The film droops before landing, or dirt under the head drags on the first and last passes.
Can I clean under the head without removing it?
Yes. Free the head by pulling power as it moves, slide it over a tissue with cleaning solution.
Which solution?
DTF cleaning solution. Never eco-solvent solution on an Epson head.
What if scratches are everywhere?
That is the exit path and head area; see the scratches-over-the-print post.
More videos: Epson L18050 / L8050 DTF conversion
- Epson L18050 and L8050 Converted to DTF: The Honest, Uncut Review
- Epson L18050 DTF Without Tape: PE/PW Bypass Module, Dampers, Capping and a Live Print
- L18050 Roll Conversion Kit: ASF and PE/PW Bypassed, Forward-Reverse Film Control
- Epson L18050 DTF Conversion, Step by Step: The Complete 38-Minute DIY Guide
- Our Converted L18050 DTF Printer: What We Modify, How You Maintain It, and Who Should Buy It
- Real Facts About the DTF-Modified Epson L805 and L1800: Is This Business for You?