Epson L18050 DTF Conversion, Step by Step: The Complete 38-Minute DIY Guide
Published 4 January 2024
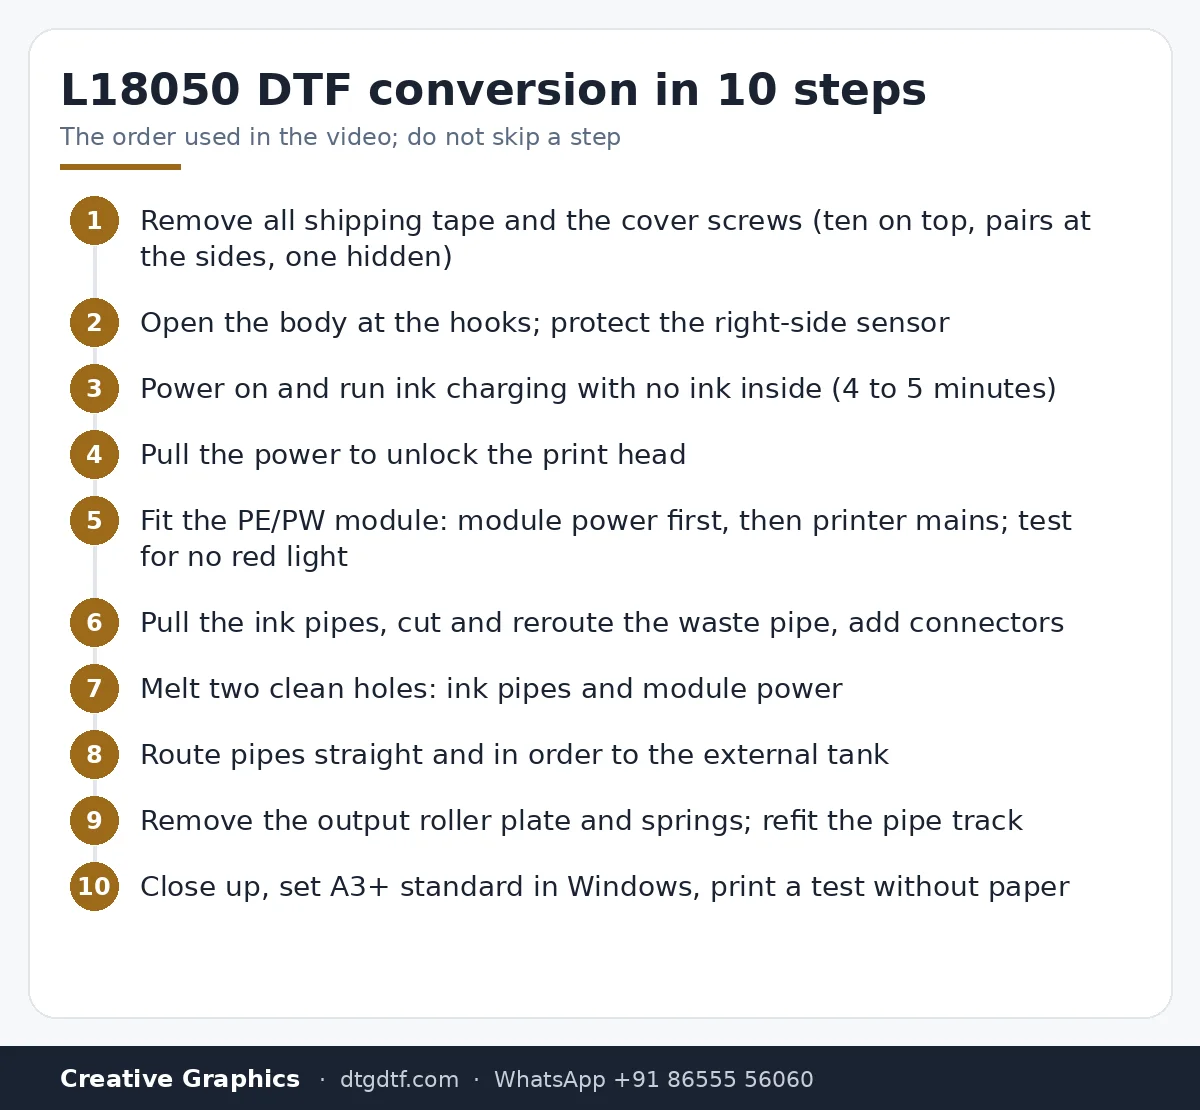
This is the long-form guide, 38 minutes and over 1 lakh views, that turns a sealed Epson L18050 into a DTF printer on camera. It was made for resellers and overseas customers who buy our PE/PW bypass modules and need every step. If you are an end user, the video's own advice applies: watch it, but have your supplier do the conversion. Here is each stage, with the timestamps so you can jump to the part you need.
What the video shows
- 0:00 — What you need: custom ink tank, PE/PW module, software dongle, resetter
- 0:53 — Who this is for: resellers and overseas module buyers
- 1:46 — Unboxing: remove every tape; which screws to remove
- 3:52 — Opening the body: the hooks, and the sensor you must not break
- 5:13 — Charge the inks before any modification
- 8:17 — Ink charging done: unlock the print head
- 9:41 — The PE/PW bypass module with IVFO inside, and its FFC cables
- 11:40 — Fitting the module and testing it: no paper errors
- 14:37 — External ink tank: pulling the original ink pipes
- 17:01 — Making the holes for pipes and the module power cable
- 22:21 — Removing the output rollers: the basic DTF step on every printer
- 27:30 — Refitting the track, removing the exit tray, mounting the module
- 31:08 — Power-up sequence: module first, then printer
- 33:26 — Printer settings: A3+, standard quality; printing without paper
- 37:02 — Ink sequence in the dampers: KWMCYW or WKMCW
- 37:54 — Ready to ship
Parts you need before you start
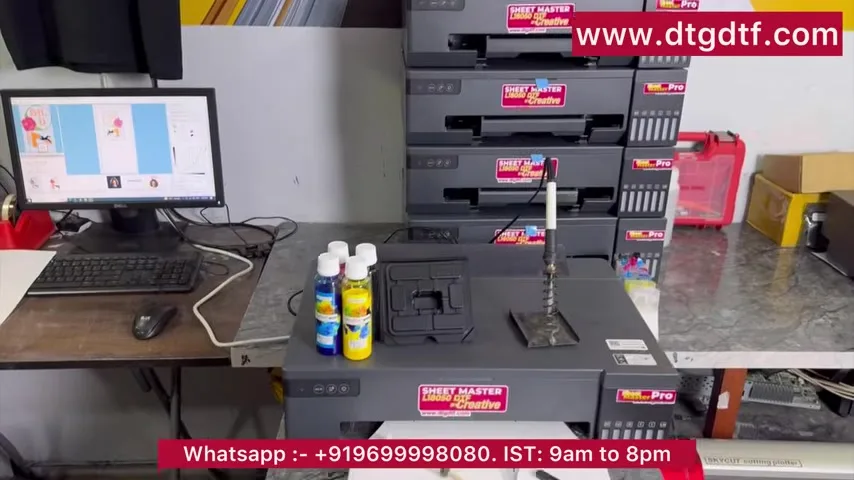
The video opens with the list: a custom external ink tank, the PE/PW bypass module for the L18050, a software dongle for the RIP, and a waste-pad resetter. Everything else is the printer itself and hand tools: screwdrivers, a cutter, double-sided tape and a soldering iron to open holes in the body. All four parts are on the shop:
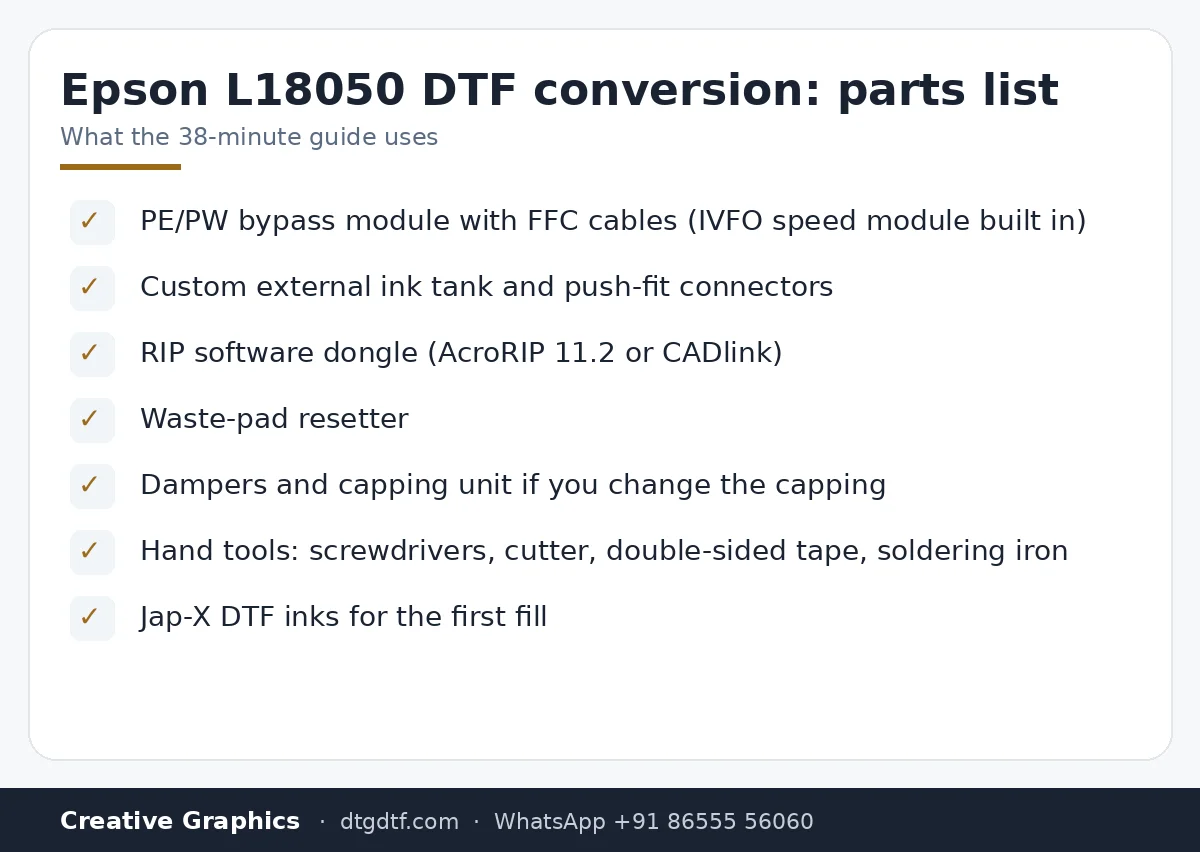
- PE/PW sensor bypass module for L18050 (ships with the FFC cables; the video's unit has the IVFO speed module built in)
- Resetter for L18050 / L8050
- Damper set and L18050 capping unit if you also change the capping
- Jap-X DTF inks for the first fill
Who should do this
The video says it twice: if you are a reseller or you sell DTF machines, go ahead. If you are an end user, you can try, but the recommendation is to have your supplier do it or buy it converted. We ship converted printers and modules worldwide.
Unboxing and opening the body
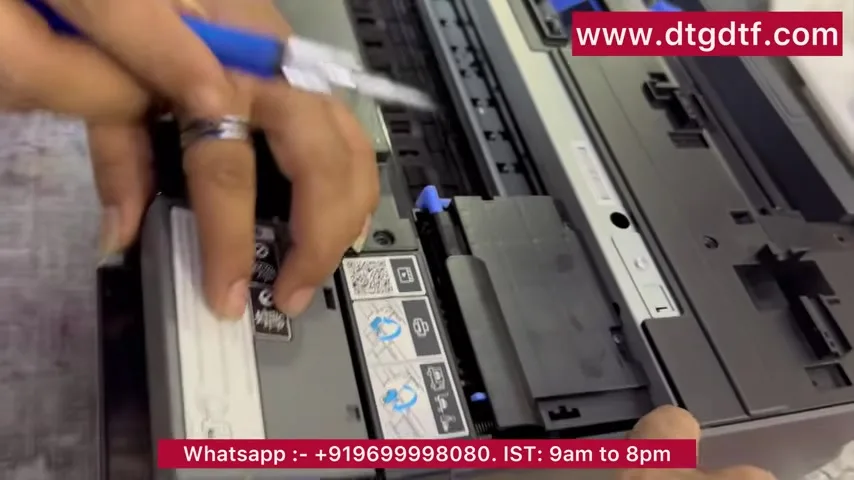
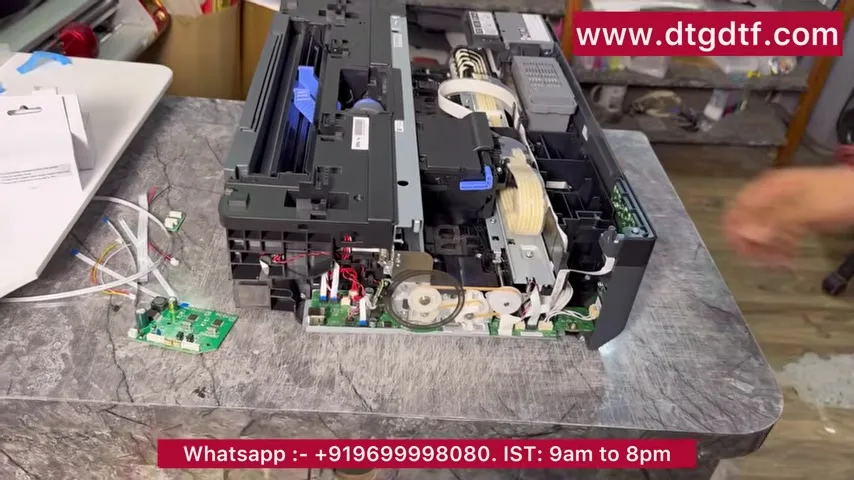
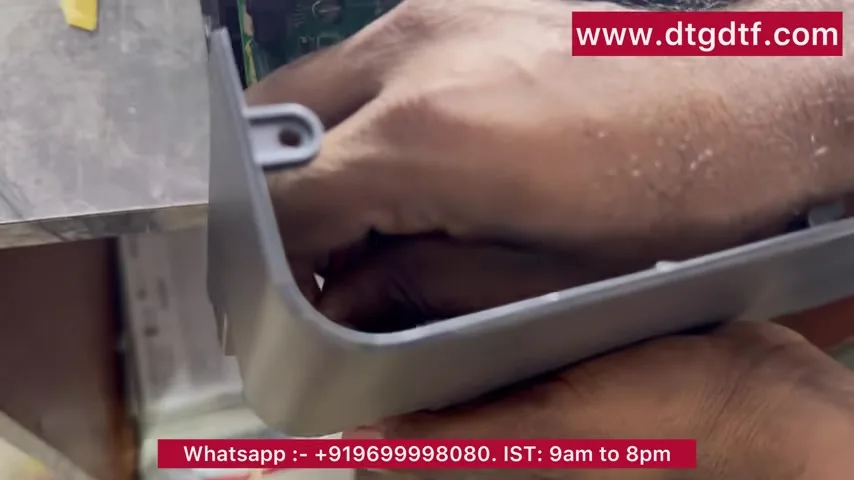
Remove every piece of shipping tape first. Then the screws: the video counts ten on the main cover plus two pairs at the sides and one hidden inside. The covers are held by hooks; a screwdriver placed in the slot and a firm tap releases them. One warning is repeated on camera: there is a sensor near the hook on the right side, and it breaks if you lever carelessly.
Charge the inks before you modify anything
This step surprises people. With the body open but nothing changed, the printer is powered on and the ink-charging routine is run, even though no ink has been filled. It takes four to five minutes and proves the new printer is fault-free before you cut a single pipe. The waste pad must be in place for charging to run. The video calls this the standard procedure for anyone using our PE/PW modules.
Unlock the print head
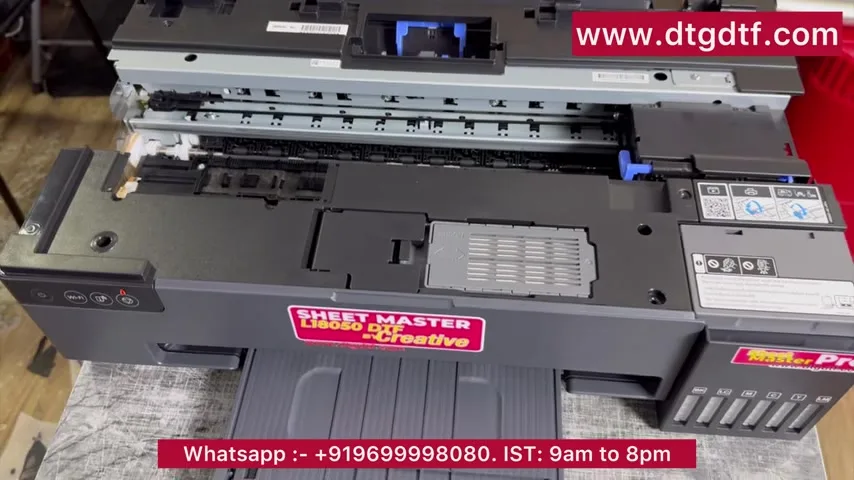
When charging finishes, the head is parked and locked. Pulling the power cable and plugging it back in frees the head so it can be slid along the rail. You need this to reach the piping and later to fit the dampers.
Fit and test the PE/PW bypass module
The module is two boards plus a set of FFC cables, shaped to sit in the space behind the ink area. The sequence in the video: remove the existing FFC cables carefully, connect the module, power the module on first, move the head to the right, then connect the printer's mains. The printer starts on its own. The output tray and the paper-sensor flag are removed, the printer is restarted, and the test is simple: no red light, no paper error. Modules are tested before they are shipped, and the detailed fitting video is shared with resellers.
External ink tank
The original ink tank stays physically but is bypassed. The ink pipes are pulled out, the waste pipe is cut and routed outside so waste no longer collects in the printer, and push-fit connectors are added to each line. Two holes are melted in the body with a soldering iron: one for the ink pipes, one for the module's power cable. The video spends time on this because the holes are visible from outside and should look clean: measure from inside, cut, and trim the burr inside and out so the cover seats again.
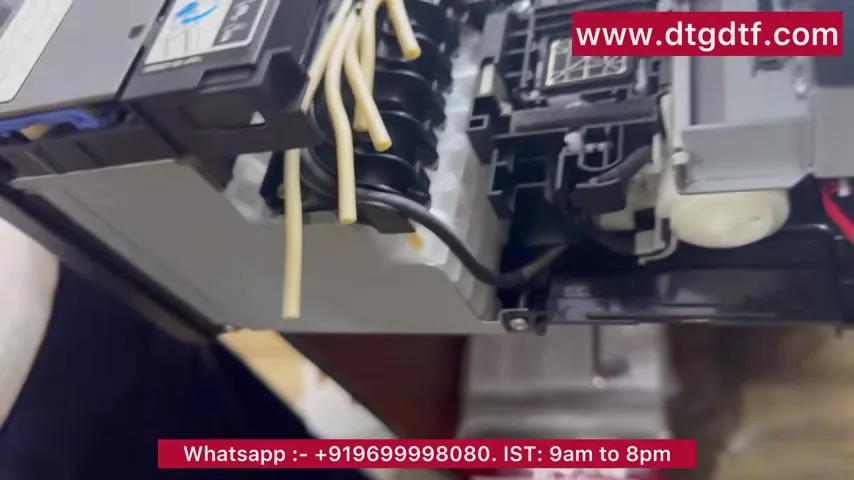
Keep the pipe sequence straight
When the pipes go through the new hole and into the external tank, they must go in straight and in order, otherwise the colour sequence changes. The video shows laying them flat, taping them down with double-sided tape, and only then connecting the tank.
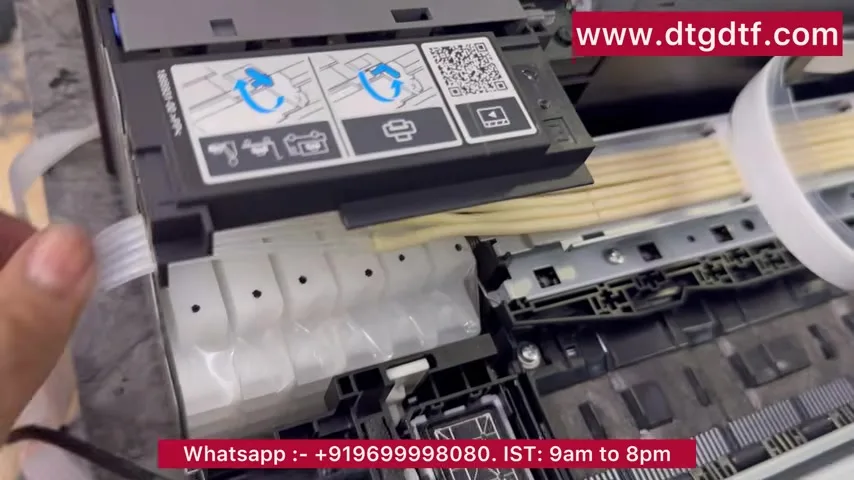
Remove the output rollers
This is described as the basic DTF modification on every printer: the plate that carries the output rollers is unscrewed and removed, springs and all, because those rollers would otherwise press on wet ink. The head is slid aside to reach the screws, including one inside the pipe track. The track that holds the ink lines goes back on afterwards with a screw at each end.
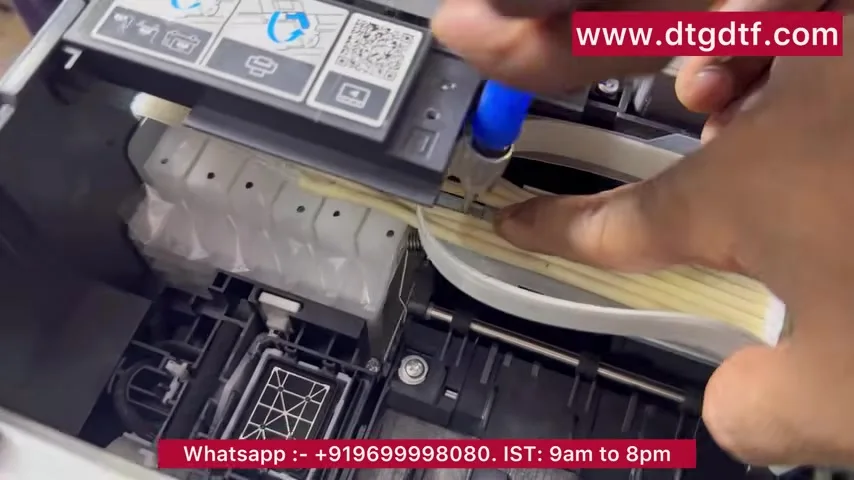
Exit tray, module mounting, closing up
The exit tray comes off by pressing the two locks underneath. The module is mounted with double-sided tape in the space already prepared, its power cable passed through the second hole, the long FFC cable taped flat, and the covers pressed back on, in the reverse of how they came off. The video mentions that a waste-pad counter reset chip will later be added to the same board.
Power-up sequence and final test
Red is +12 V on the module's power lead; tape the joint. Then: module power first, then the printer's mains. Newer modules show a blue light. The head moves left, the printer reports ready, and a restart confirms there is still no red light. This is the test done before any converted printer ships.
Printer settings and the first print
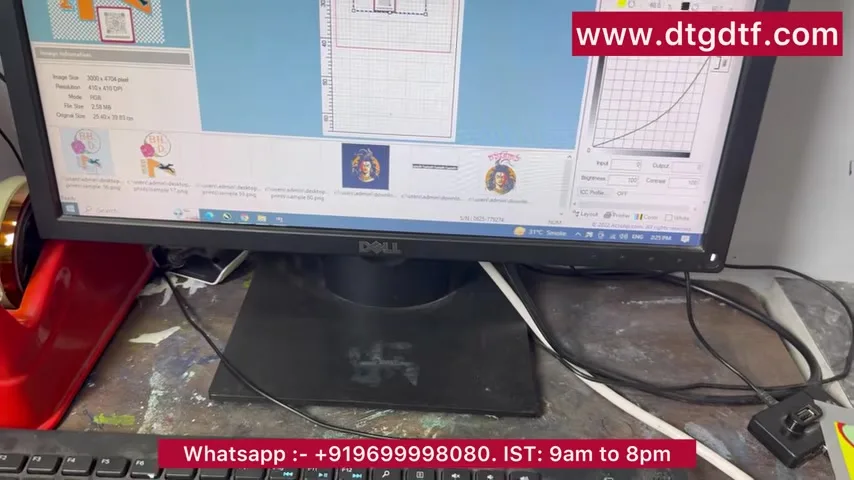
In Windows, set the printer's default properties to A3+ and standard quality, and select the right copy of the printer in the RIP. The video uses AcroRIP 11.2; CADlink Digital Factory also works. Because both sensors are bypassed, the printer accepts a print job with no paper inside and runs it. With a sheet loaded it prints normally, with no tape and no paper error. The ink sequence in the dampers, from left to right, is KWMCYW or WKMCW, and the RIP can be set to match.
Buying it done
If this is more than you want to do yourself, the same printer converted and tested is sold as the L18050 DTF Printer (₹92,300 + GST today), or with oven and consumables. Converted printers and modules carry no warranty; every unit is tested before dispatch, and the video's own closing line applies: check for a newer video before you follow an old one.
Frequently asked questions
Why charge the inks before modifying the printer?
It proves a brand-new printer is fault-free before you cut pipes or fit modules, and the PE/PW module procedure requires the printer to have completed its first charge.
Do I need to fill ink to run the charging cycle?
No. The video runs ink charging on an empty printer; it is safe and takes four to five minutes.
Which sensor must I not break?
The one near the hook on the right side of the body, and the transparent circular width sensor near the capping if you have modified the capping.
Which RIP works with the converted L18050?
AcroRIP 11.2 is used in the video; CADlink Digital Factory also works. Set default properties to A3+ and standard quality.
What is the ink order in the dampers?
Left to right KWMCYW or WKMCW. The RIP's channel sequence must match.
Can I skip the module and just tape sheets?
The video says a general user can skip the module section. Without it you tape the leading edge of every sheet and still risk paper errors.
Is there a warranty on a self-converted printer?
No. Converted printers and modules are sold without warranty. Units we convert are tested before dispatch.
Related guides
- DTF Printer Buying Guide — What to Look For (and Avoid) in India
- XP600 vs i3200 Print Head — Which Should You Buy?
- Why Do DTF Prints Peel After Washing? Real Fixes
- DTF Ink Storage in Indian Humidity — Practical Guide
Reseller or technician?
We supply the PE/PW modules worldwide with the fitting video. Message us with your printer model and quantity.
WhatsApp +91 86555 56060More videos: Epson L18050 / L8050 DTF conversion
- Epson L18050 and L8050 Converted to DTF: The Honest, Uncut Review
- Epson L18050 DTF Without Tape: PE/PW Bypass Module, Dampers, Capping and a Live Print
- L18050 Roll Conversion Kit: ASF and PE/PW Bypassed, Forward-Reverse Film Control
- Our Converted L18050 DTF Printer: What We Modify, How You Maintain It, and Who Should Buy It
- Real Facts About the DTF-Modified Epson L805 and L1800: Is This Business for You?
- Epson L18050 DTF Maintenance: Manual Head Cleaning, Taping Sheets Properly, Roll Feeding and Ink Charge