The Complete L1800 DTF Conversion, Technical and Uncut: 24 Minutes of Gloves, Screws and the Capping Station
Published 28 June 2021
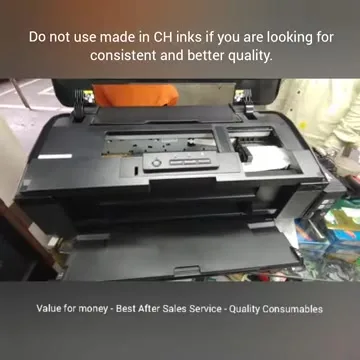
No talking in this one; just the bench camera, a pair of gloves and a new L1800 coming apart and going back together for DTF. The May 2021 conversion video explained the steps; this June one is the full technical pass, uncut, for people who wanted to see every screw. Two captions sit on the screen the whole way: do not use made-in-China inks if you want consistent quality, and value for money is after-sales service and consumables. Here is what each stretch of the video shows.
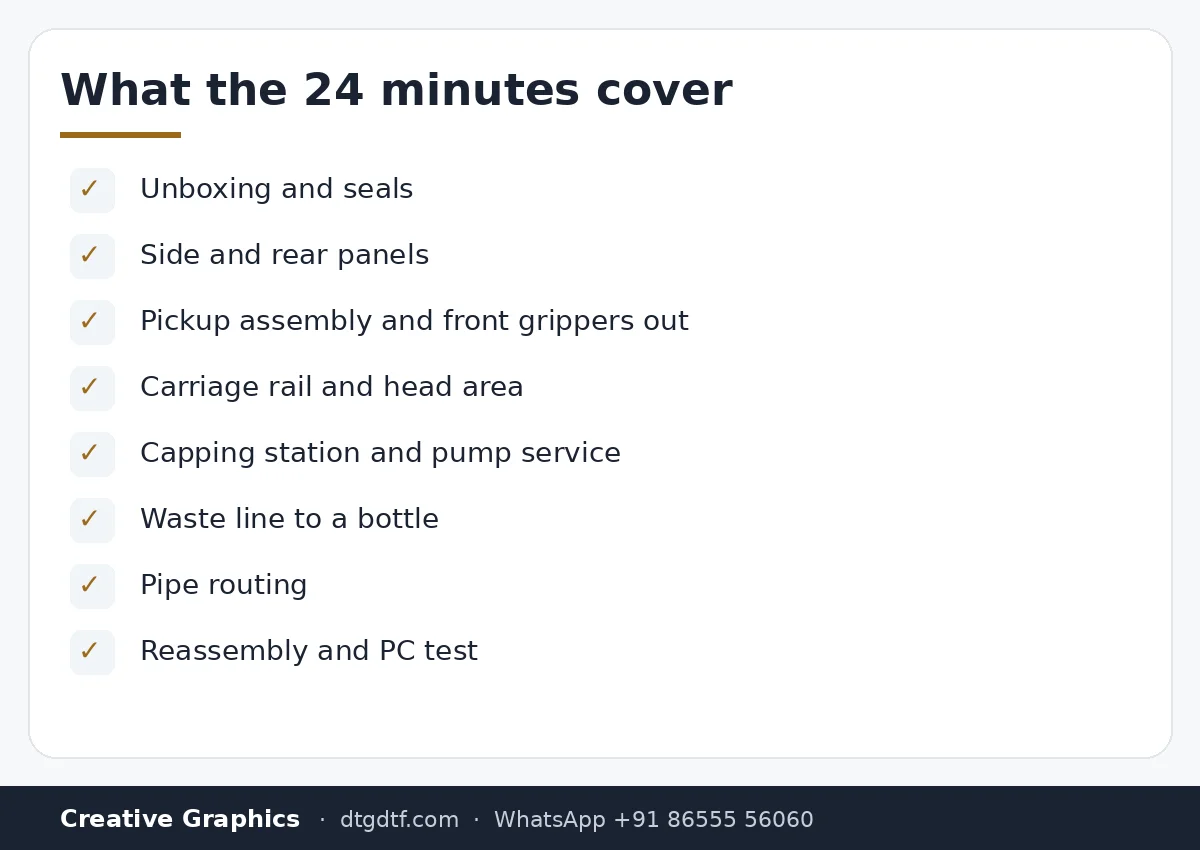
What the video shows
- 1:00 — Unboxing a new L1800
- 3:02 — Seals off; first screws out
- 5:03 — Side panels and the rear assembly
- 7:05 — Inside: cables, ribbon, the board
- 9:07 — The paper path and pickup assembly out
- 11:08 — Carriage rail and head area
- 13:10 — Capping station and pump
- 15:11 — Pipe routing and tank side
- 17:13 — Reassembly: top assembly back on
- 19:15 — Testing at the PC
- 21:16 — Closed up: the converted printer
- 23:18 — Final: ready for ink
Strip
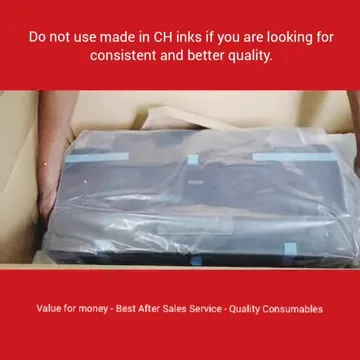
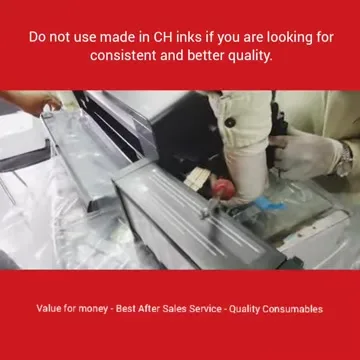
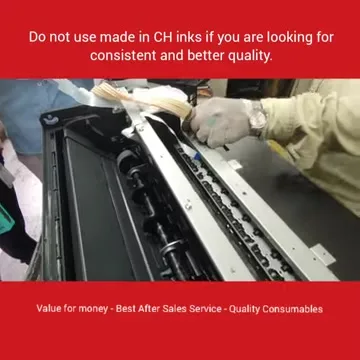
Out of the box, every seal off, then the screws: side panels, the rear, the front clips. Gloves on because the inside of a new printer is cleaner than your hands and because ink comes later. The order matters for putting it back, which is why the camera never stops.
Paper path and pickup
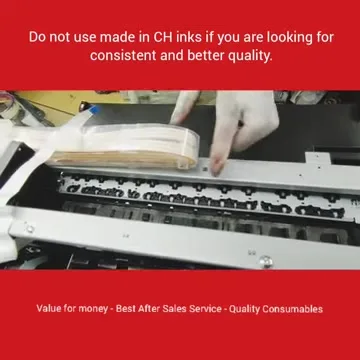
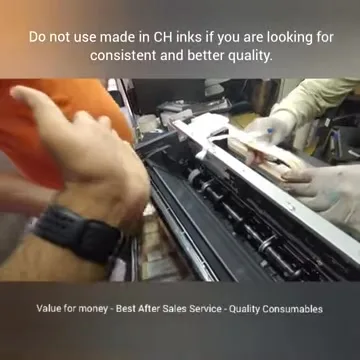
The pickup assembly lifts out so the film can feed flat and so the front grippers, which would sit on wet ink, are gone. The strip and the clips come out carefully; this is the part people break.
Capping station and pump
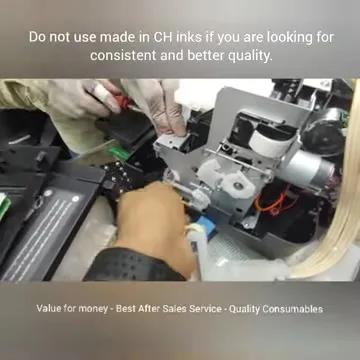
The capping station is where a DTF conversion lives or dies: it seals the head between jobs and the pump pulls ink through on a clean. In the video the station and pump are worked on and the waste line is taken out of the pad to run to a bottle. Later conversions added a heavier capping motor; see the L18050 build.
Back together and test
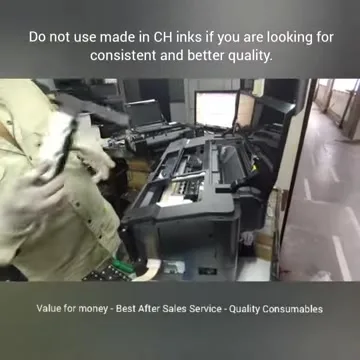
Top assembly back on, screws in the holes they came from, panels on, then to the PC for the first switch-on and a feed test. The printer at the end of the video is a sealed, clean conversion waiting for DTF ink.
The words that go with this
The narrated version of the same job, with the screw-type and gripper explanations, is here. The honest comparison of a converted L805 and L1800 is here. And since the L1800 is discontinued, the current equivalent is the L18050 complete guide or the converted L18050. On inks: the ones we use.
Frequently asked questions
Is there narration on this video?
No. It is the uncut technical pass. The narrated conversion video from May 2021 is linked in the post.
What is removed in an L1800 DTF conversion?
Seals, side knobs, front clips, the pickup assembly and front grippers; the waste line is rerouted; the capping station is serviced.
Why the caption about inks?
Because the conversion is the easy part. Inconsistent ink is what makes converted printers fail.
What is today's equivalent?
The Epson L18050, converted or bought converted.
Related guides
Converting an old L1800?
WhatsApp a photo of the printer. If it is worth converting we will say so; if not, we will say that too.
WhatsApp +91 86555 56060More videos: Epson L18050 / L8050 DTF conversion
- Epson L18050 and L8050 Converted to DTF: The Honest, Uncut Review
- Epson L18050 DTF Without Tape: PE/PW Bypass Module, Dampers, Capping and a Live Print
- L18050 Roll Conversion Kit: ASF and PE/PW Bypassed, Forward-Reverse Film Control
- Epson L18050 DTF Conversion, Step by Step: The Complete 38-Minute DIY Guide
- Our Converted L18050 DTF Printer: What We Modify, How You Maintain It, and Who Should Buy It
- Real Facts About the DTF-Modified Epson L805 and L1800: Is This Business for You?