How We Converted a New Epson L1800 to DTF in 2021: Seals, Grippers, Screws and the Waste Pipe
Published 7 May 2021
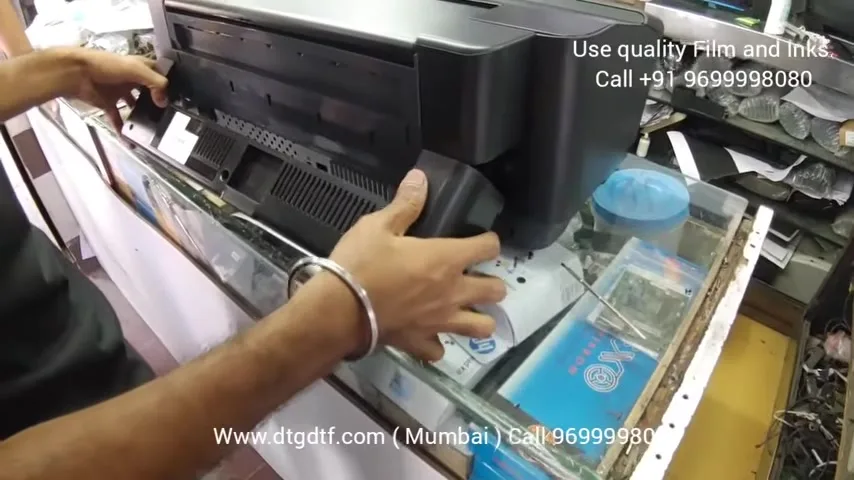
May 2021, a brand-new Epson L1800 on the bench and a camera over it. This is how we converted printers for DTF before the L18050 existed: pull the seals, lift the pickup assembly, remove the front grippers, bypass the waste pipe, fill DTF inks. The Hindi audio is rough on this upload, so I am writing from the video itself and what I said. The L1800 is discontinued now, but every principle here is the same on the L18050, and people still ask me about it every week.
What the video shows
- 0:00 — New L1800: open it and strip the parts
- 0:26 — Keep the Epson inks aside; only DTF inks go in
- 0:51 — Remove every blue seal and sticker
- 1:34 — Transport lock: up for ink, down for moving
- 1:56 — Right and left knobs; the roll-printer buttons go here later
- 3:04 — Front locking clips and rear screws
- 6:14 — Pull the assembly up and out; software next
- 7:08 — The strip: pull it straight, it must not break
- 9:16 — Front assembly out; the gripper lifts from below
- 12:10 — Film yourself opening it, so you can put it back
- 12:32 — Inch screws for plastic, mm screws for metal
- 13:54 — Reassemble in the same order
- 14:48 — It is the same Epson head; nobody changes it
- 15:24 — Why the front grippers come out: they sit on wet ink
- 16:29 — Vacuum assembly option; bypass the waste pipe
Unbox and strip
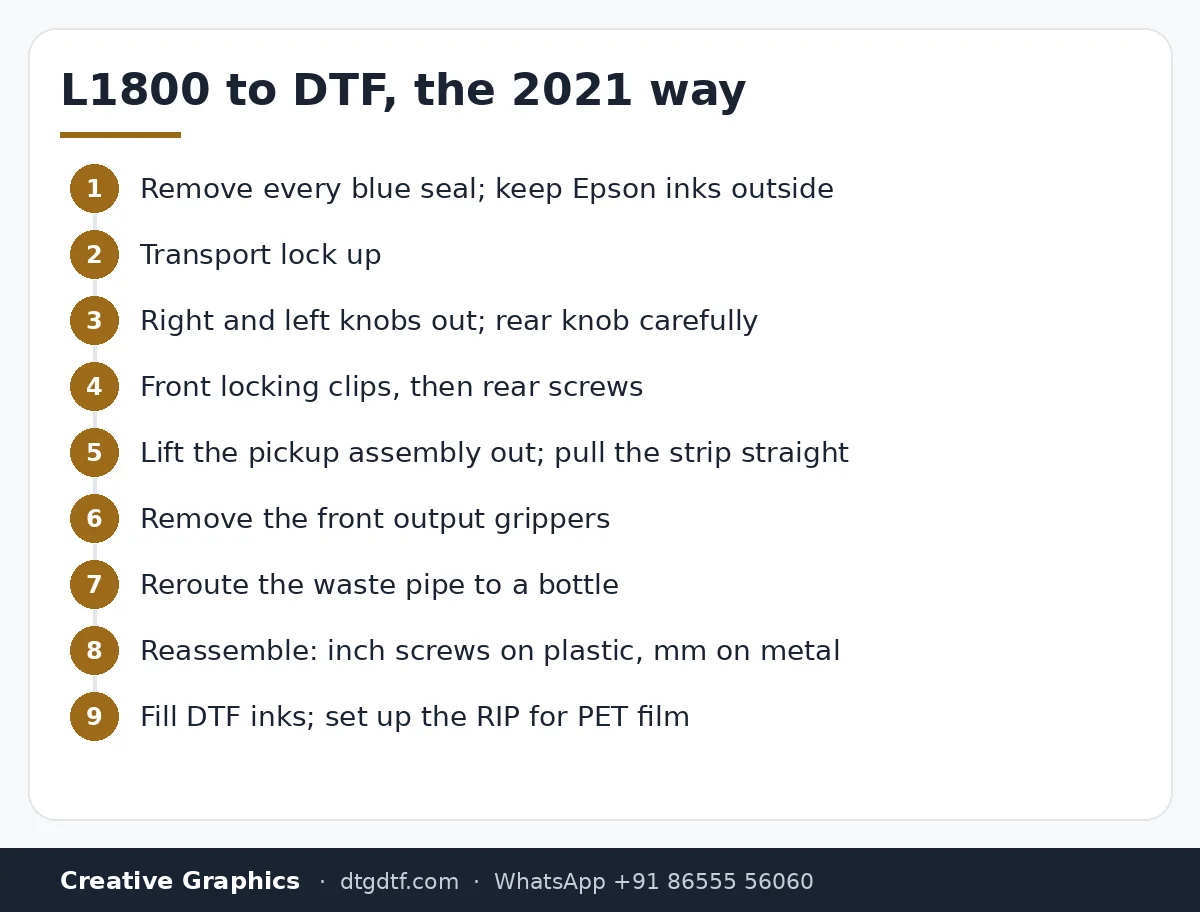
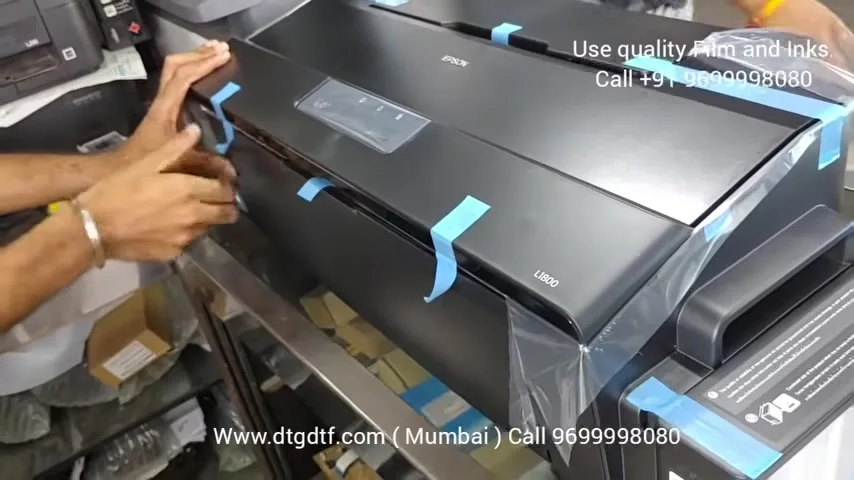
Everything starts with a new printer. Open it and take off every blue seal and sticker, front and back; not one stays. The Epson inks in the box are not used; keep them outside. DTF ink is the only ink that goes into this printer. The transport lock is a knob: down for moving the printer, up when you are about to fill ink, so leave it up.
Knobs, clips, screws
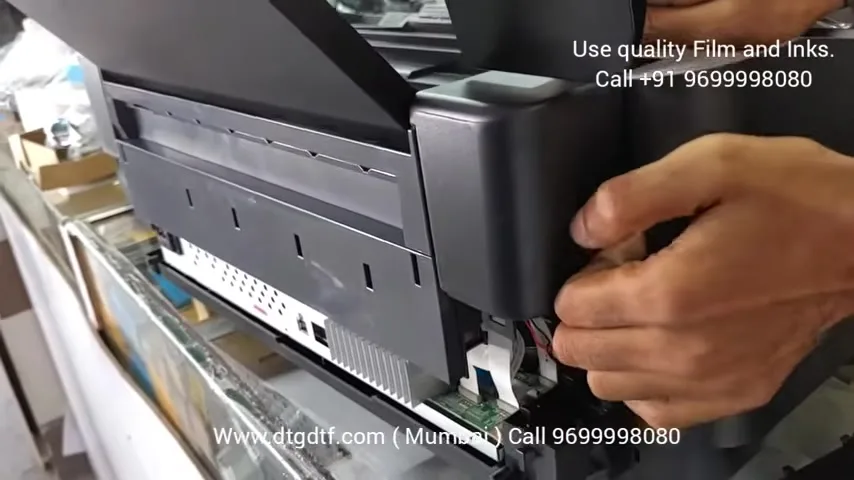
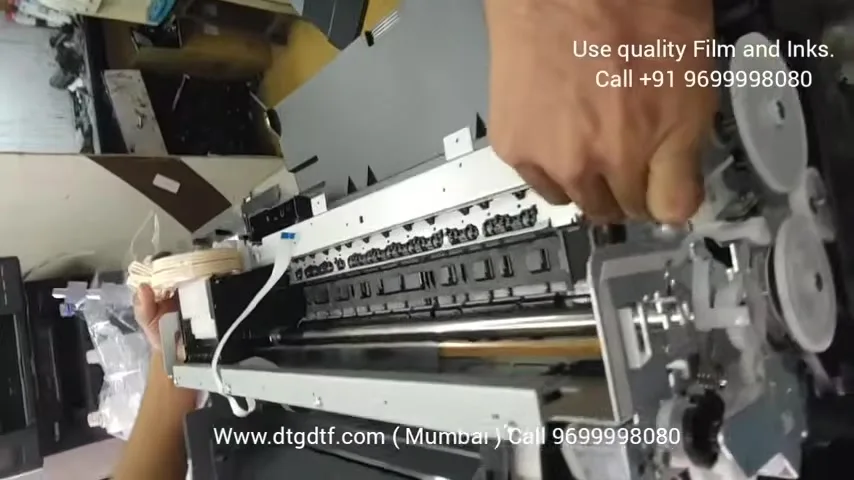
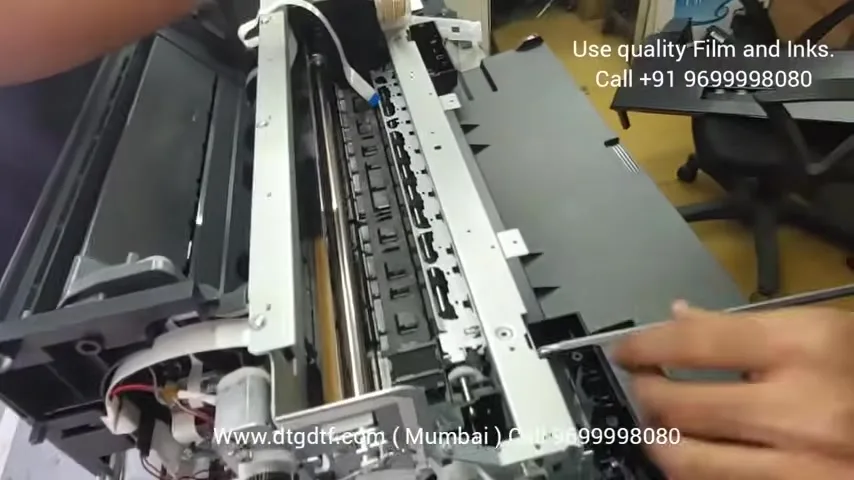
There is a knob on the right and one on the left; both come out first, and on a roll-to-roll build this is where the buttons go later. The rear right knob is the one that breaks if you force it, so watch how it is removed. Then the front locking clips, then the rear screws, and the top assembly lifts up and out.
The strip, the gripper, the video
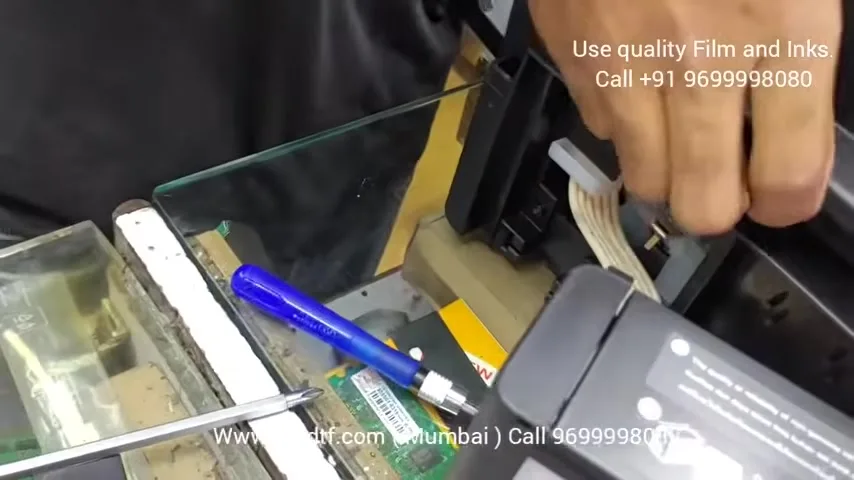
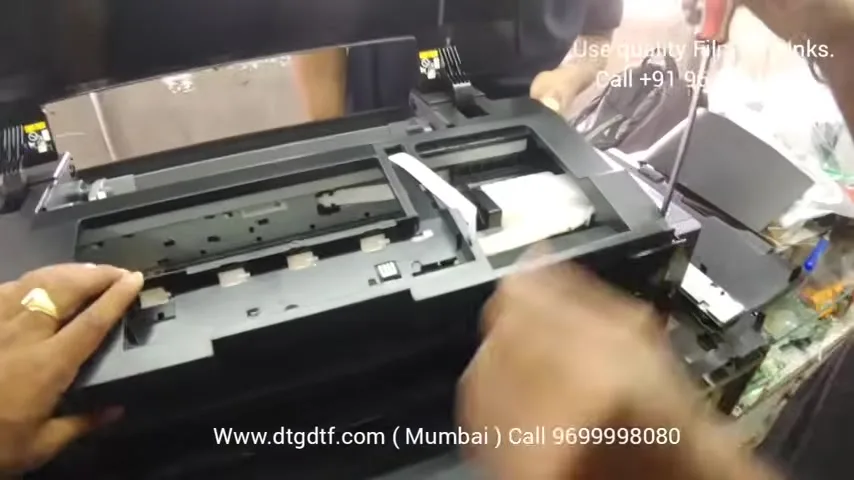
Inside there is a strip; pull it straight and gently, it must not break. The front assembly comes out too, and the gripper lifts from above and releases from below. My standing advice from this video: film yourself taking the printer apart. Most people who get stuck opened it fine and could not put it back. The screws are two kinds, inch thread for plastic-to-plastic and mm thread for metal-to-metal; each goes back exactly where it came from, or you get paper jams later. There is a clip under the front assembly that must sit underneath when you refit it.
Why the grippers go
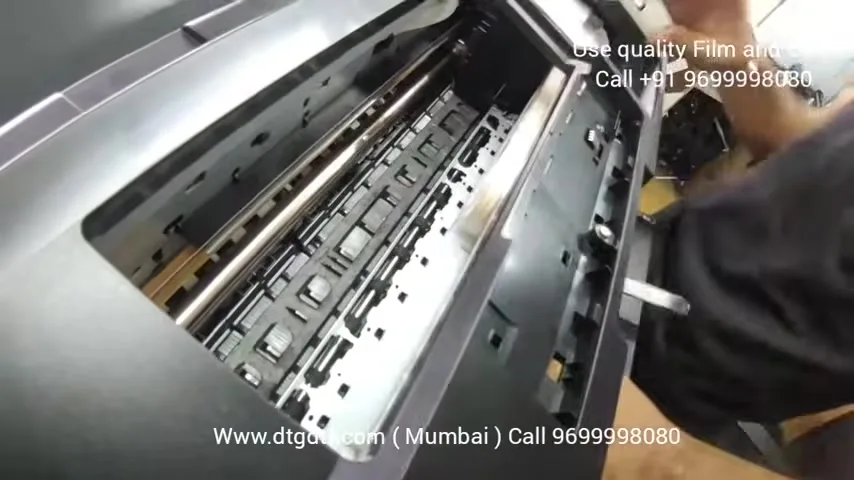
The front grippers hold the paper on its way out so it cannot buckle into the head. On a paper printer that is useful. On DTF the paper is PET film with wet ink on it, and the grippers would sit right on that ink. So they come out, and you keep the film flat another way; a vacuum assembly can be fitted on the output side to hold it. One more thing: the waste pipe. DTF uses far more ink than office printing, so the waste pipe is taken out of the pad and routed to a bottle.
Same head, no special maintenance
People will tell you this printer has a different head. It does not. It is Epson's head; even Epson does not change or repair it. The conversion does not touch it. Use good inks, imported if you can, good PET film, and there is no maintenance beyond what any printer shop can do. In 2021 I had my own printers converted at a printer shop in Vashi.
Today
The L1800 is gone from the market. The small printer now is the Epson L18050, and the conversion is the same idea with a harder board: PE and PW sensors to bypass, a module instead of a tape trick. That full guide is here, the PE/PW module is on the store, and if you would rather not open a printer at all, the converted L18050 is ₹92,300 + GST, tested before dispatch.
Frequently asked questions
Is the DTF L1800 head different from the normal one?
No. It is the same Epson head. Conversion does not touch it.
What comes out of the printer during conversion?
All seals, both side knobs, front clips, the pickup assembly, the front output grippers, and the waste pipe is rerouted.
Why remove the output grippers?
They would press on wet ink on the PET film. A vacuum assembly can hold the film instead.
Which screws go where?
Inch thread for plastic to plastic, mm thread for metal to metal. Put each back where it came from.
Can I use the Epson inks?
No. Only DTF inks, good quality, preferably imported.
Does this apply to the L18050?
The idea, yes. The L18050 also needs its PE and PW sensors bypassed; see the L18050 guide.
Related guides
- What is DTF Printing? Direct-to-Film Explained Simply
- DTF Printer Buying Guide — What to Look For (and Avoid) in India
Converting one yourself?
Tell me the model on WhatsApp and I will send the parts list for it.
WhatsApp +91 86555 56060