Connecting a 12-Inch Dual-Head DTF Printer With Atool and Making a Print-Ready File: CorelDRAW, Photoshop Spot Channel W1, Maintop PRN
Published 5 April 2025
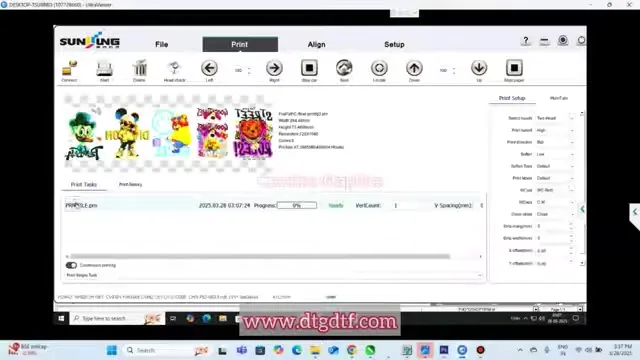
The question that comes in with every 12-inch dual head we install: how do I connect it, and how do I make the file. Here is both, recorded over remote desktop on a customer's PC in April 2025: the LAN IP, Atool connecting, CorelDRAW to tidy and mirror, Photoshop to make the white as a spot channel named W1, Maintop to rip it to a PRN, Atool to print it. Fifteen minutes with the mistakes left in, because the mistakes are the useful part.
What the video shows
- 0:00 — Atool and Maintop installed; printer on the LAN port
- 0:45 — Which Ethernet port; set IPv4 to the printer's address
- 1:40 — Atool: connect; IP settings under Setup if needed; screenshot the parameters
- 2:22 — CorelDRAW: remove the excess background from the PNG
- 3:58 — 11 inches wide for a 12-inch printer; repeat the artwork; mirror; export PNG at original size
- 5:04 — Photoshop: TIFF export from a pirated Corel loses transparency; export PNG instead
- 7:05 — Photoshop: mode CMYK; Ctrl-click to select the image
- 8:07 — Select, Modify, Contract by 1 (3 or 4 for poor PNGs)
- 9:01 — New spot channel named W1, solidity 100 percent; save as TIFF
- 10:15 — Maintop: dongle in; import picture; preview
- 11:45 — Printer setup: white density and defaults
- 12:33 — Pass count must match the profile (720 × 1440 = 8 pass)
- 13:17 — Print to file: PRN
- 14:12 — Atool: delete old files, add the PRN, print
- 15:18 — Always check the size; group before export
Connect the printer
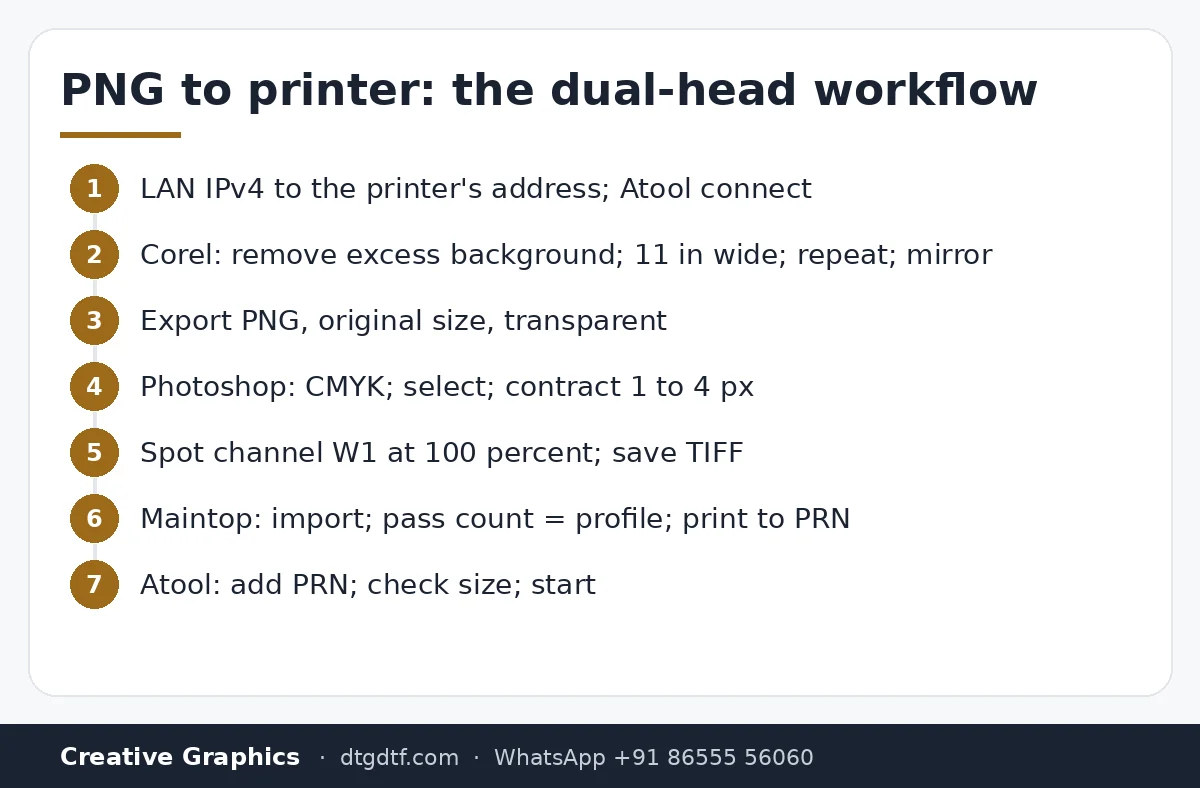
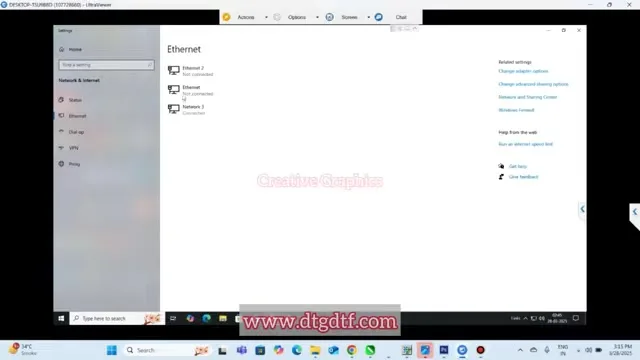
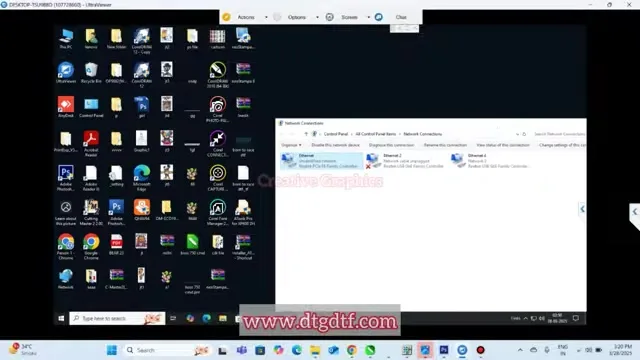
The printer connects to the PC by LAN cable, not through the internet router. Find which Ethernet adapter is the printer by unplugging and replugging, open its properties, set IPv4 manually to the printer's address; the one in the video is for that machine, yours is on your board. Open Atool, click connect. If it refuses, Setup then IP settings. The board remembers every parameter it was shipped with, so take a screenshot of them once and never retype.
CorelDRAW: tidy and mirror
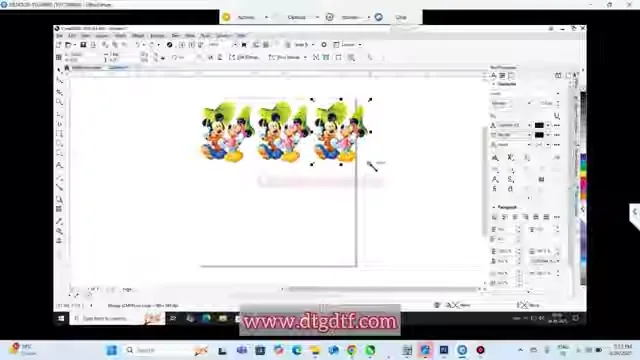
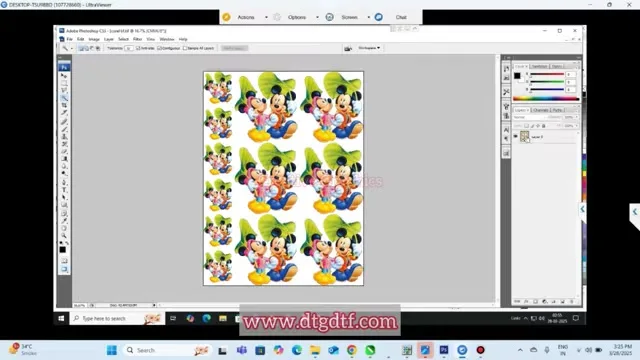
Drop the PNG in. The image reports 279 mm but the artwork is 177 mm; the rest is empty background. Select curves and delete the excess. Set the width to 11 inches for a 12-inch printer. Repeat the artwork to fill the sheet. Mirror here. Export, selected only, PNG, maintain size, transparent. A TIFF from a pirated Corel lost its transparency on this PC; PNG worked.
Photoshop: the W1 spot channel
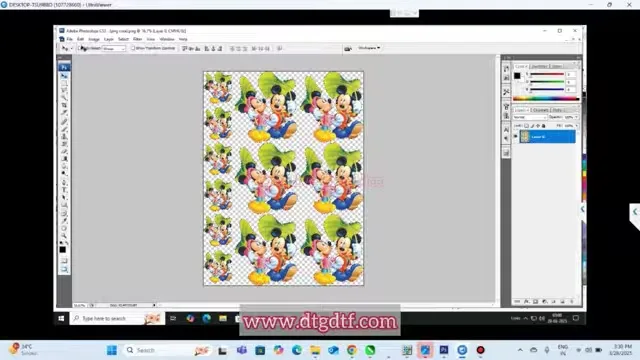
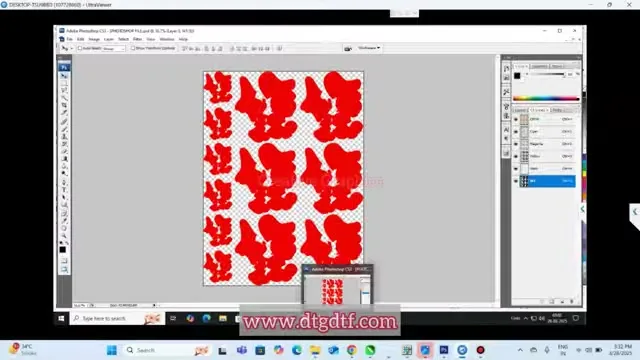
Open the PNG. Image mode must be CMYK. Ctrl-click the layer to select the artwork. Select, Modify, Contract by one pixel, three or four if the PNG edges are rough; this keeps the white inside the colour. Channels panel: new spot channel, name W1, capital W, solidity 100 percent. Save as TIFF with no other changes.
Maintop and Atool
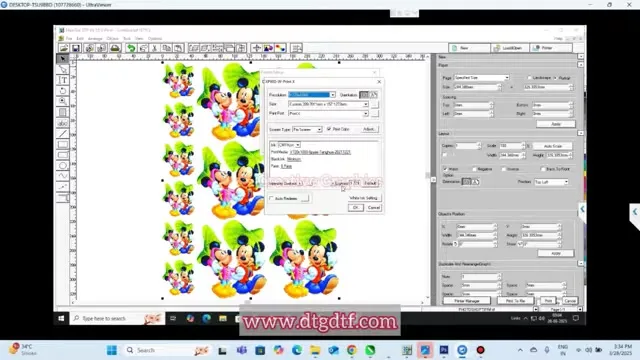
Maintop needs its dongle in. File, import picture, choose the TIFF, preview, auto set to picture size. Printer setup once: white density, lightness, set as default. Properties: the pass count must match the profile; 720 × 1440 is 8 pass. Print to file, PRN. In Atool, delete the old jobs, add the PRN, print or add task, start. Always check the size in the job before starting, and always group the artwork before exporting from Corel so the size survives.
Related
Head alignment on the same machine: perfect head alignment. The desktop equivalent of this file workflow is AcroRIP 11.2; file arrangement for our print service is here. If you do not want Photoshop at all, DTF Powerhouse builds the gang sheet from PNGs.
Frequently asked questions
How do I connect a 12-inch DTF printer to the PC?
LAN cable to the PC's Ethernet adapter, IPv4 set manually to the printer's address, then connect in Atool.
How do I make the white layer in Photoshop?
CMYK mode, Ctrl-click the artwork, contract by 1 to 4 pixels, add a spot channel named W1 at 100 percent, save as TIFF.
Why does my TIFF lose transparency?
Pirated Corel exports can. Export PNG, then build the TIFF in Photoshop.
Why 8 pass?
The pass count in print properties must match the profile; 720 × 1440 uses 8 pass.
What file goes to Atool?
A PRN from Maintop's print to file.
Stuck at connect or at W1?
WhatsApp a screenshot; most of these are solved on a remote session.
WhatsApp +91 86555 56060More videos: Dedicated DTF printers (X-ARC, Yinstar)
- X-ARC XP600 Single Head DTF Printer: Every Feature Shown in the Video, Explained
- Best DTF Printer in India for Small and Large Shops: The X-ARC 600 Single Head Review
- Why the X-ARC Pro Is Different: Five Parts That Decide Whether a DTF Printer Works or Just Needs Maintenance
- Which DTF Printer Should You Buy? L18050 vs 12-Inch Dual Head, by Daily Volume
- X-Arc 600 Pro in 89 Seconds: Auto Cleaning, Anti-Collision Sensors, Capping Unit You Clean From Outside
- L1800, L8180 or a 12-Inch XP600 Dual Head? The 2022 Video on Which DTF Printer to Buy, in English