Perfect DTF Head Alignment in Ten Minutes: Step Adjust, Left and Right Distance, Vertical Adjust, and the White Outline Is Gone
Published 2 July 2026
White showing outside the colours, a border on every print, black shifted a hair sideways: that is head alignment, and you can do it yourself in ten minutes on any multi-head DTF printer. I filmed it in July 2026 on a three-year-old four-head machine after I had moved one head from colour to white, which is exactly when alignment goes. Clean first, nozzle check until clean, then step, horizontal, vertical, saving and reprinting after each change. Here is the whole thing in English.
What the video shows
- 0:00 — White running out of the colours: alignment, not a technician
- 0:36 — Film loaded; capping station and heads clean; one cleaning first
- 1:17 — The test file: shapes in CMYK and white; contraction off
- 1:56 — Nozzle check first, always; strong clean the white heads until clear
- 2:34 — Capping station, wiper blade, and grease on the rail once a week
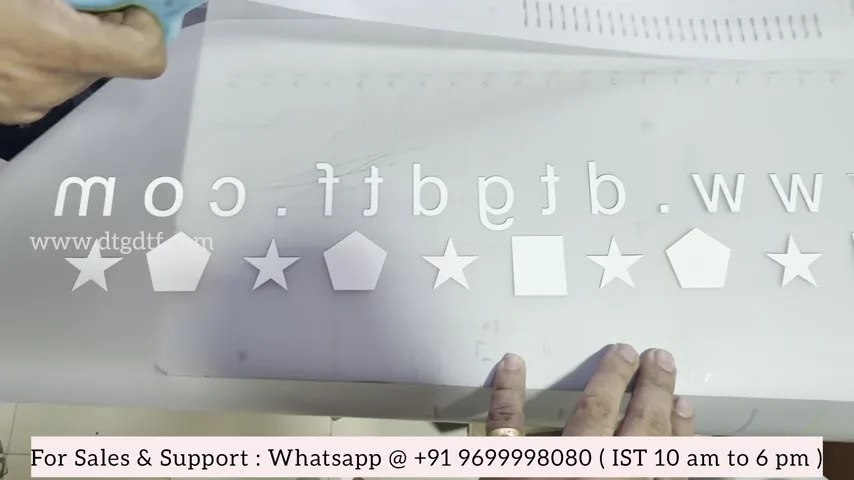
- 3:56 — Print the test file; zoom: colours vertically out, black horizontally shifted
- 5:25 — PrintExp: Adjust; head install is the supplier's job
- 6:41 — Step adjust: zero is fine here; minus one if that looks better
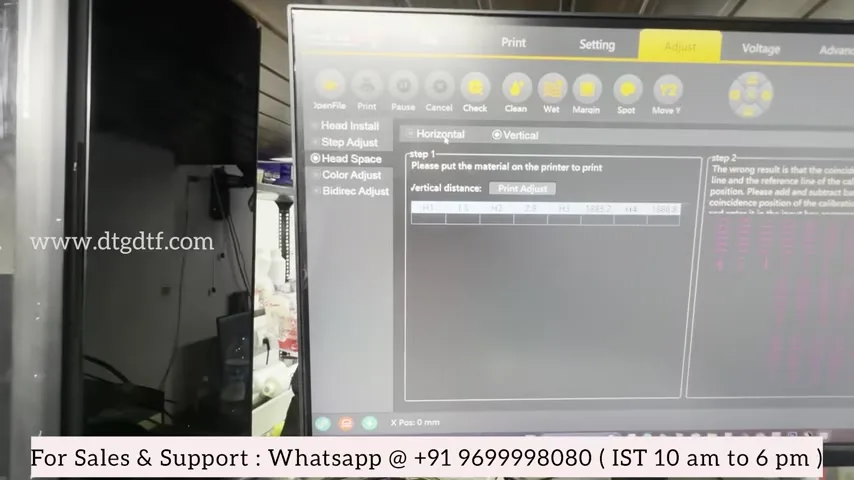
- 7:43 — Head space: horizontal first; left distance and right distance
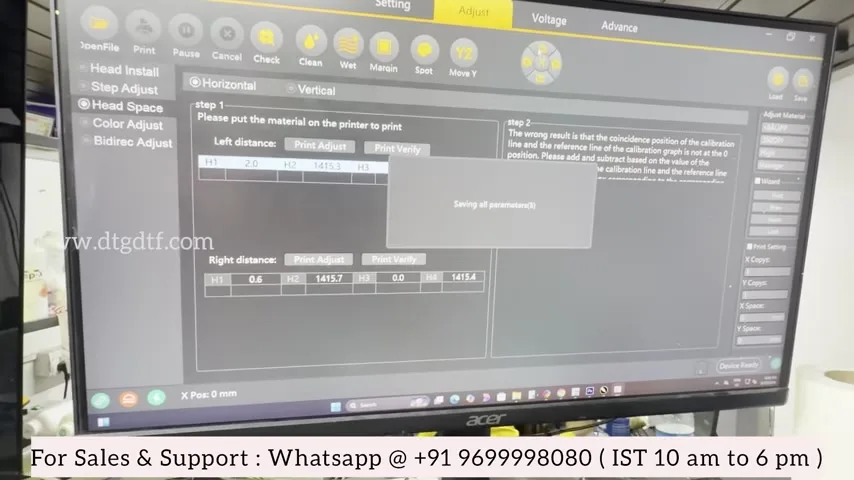
- 8:04 — H3: plus one looks better than zero; H4 fine at zero
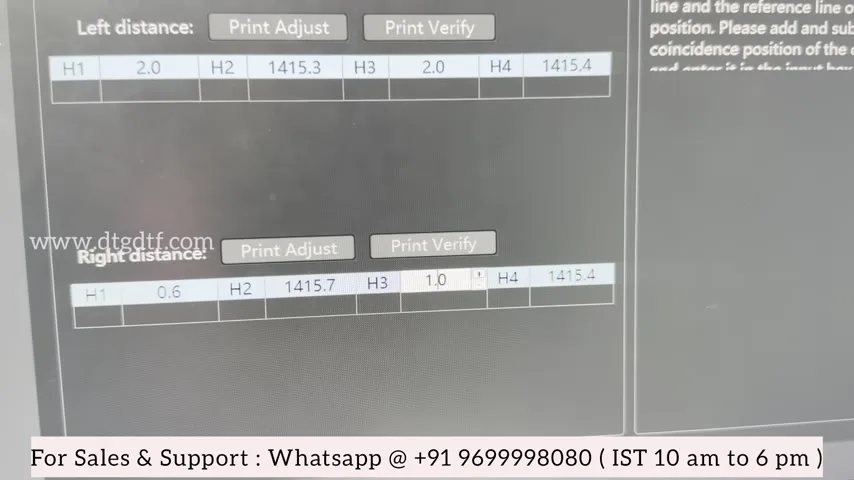
- 9:48 — Save, then print adjust again; H3 to plus two
- 11:42 — Right distance: do not skip it; once in six months
- 13:06 — Vertical adjust: head clean first for a clear picture
- 14:07 — H2 plus six, H3 plus six, H4 plus twelve; save
- 16:04 — Why: I moved one head from CMYK to white
- 16:48 — Zeros perfect; fine-tune to plus two if needed
- 17:36 — Before and after on the same image
Clean before you align
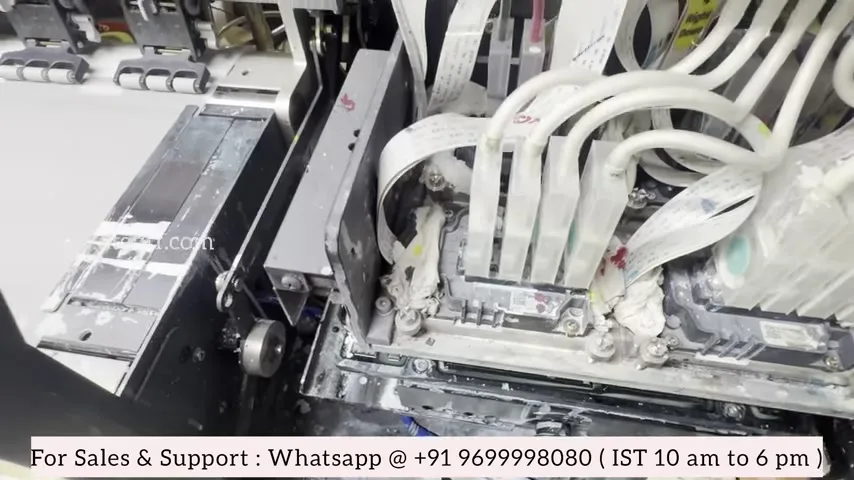
A dirty capping station or a crusted wiper blade shows up as misalignment that is not there. Clean both, grease the rail the head rides on, once a week, and run a strong clean on the white heads until the nozzle check is clear. Do not go further until it is; alignment on a broken nozzle check tells you nothing. Any branded machine ships aligned, so if you are doing this, something moved.
The test file
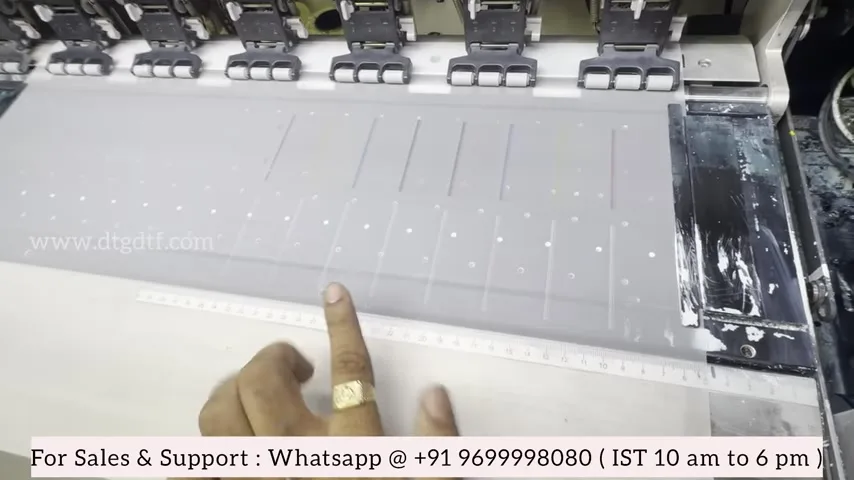
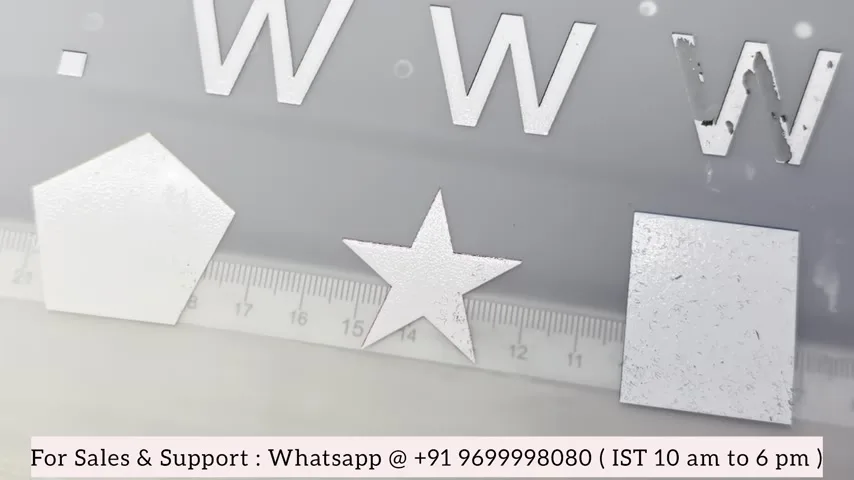
Shapes and letters in cyan, magenta, yellow, black and white, printed as they are. Turn contraction off in the RIP or Maintop for this, or the choke hides the misalignment. Zoom in: colours sitting vertically off the white, black shifted sideways. Vertical means along the feed; horizontal means across the carriage.
Step adjust
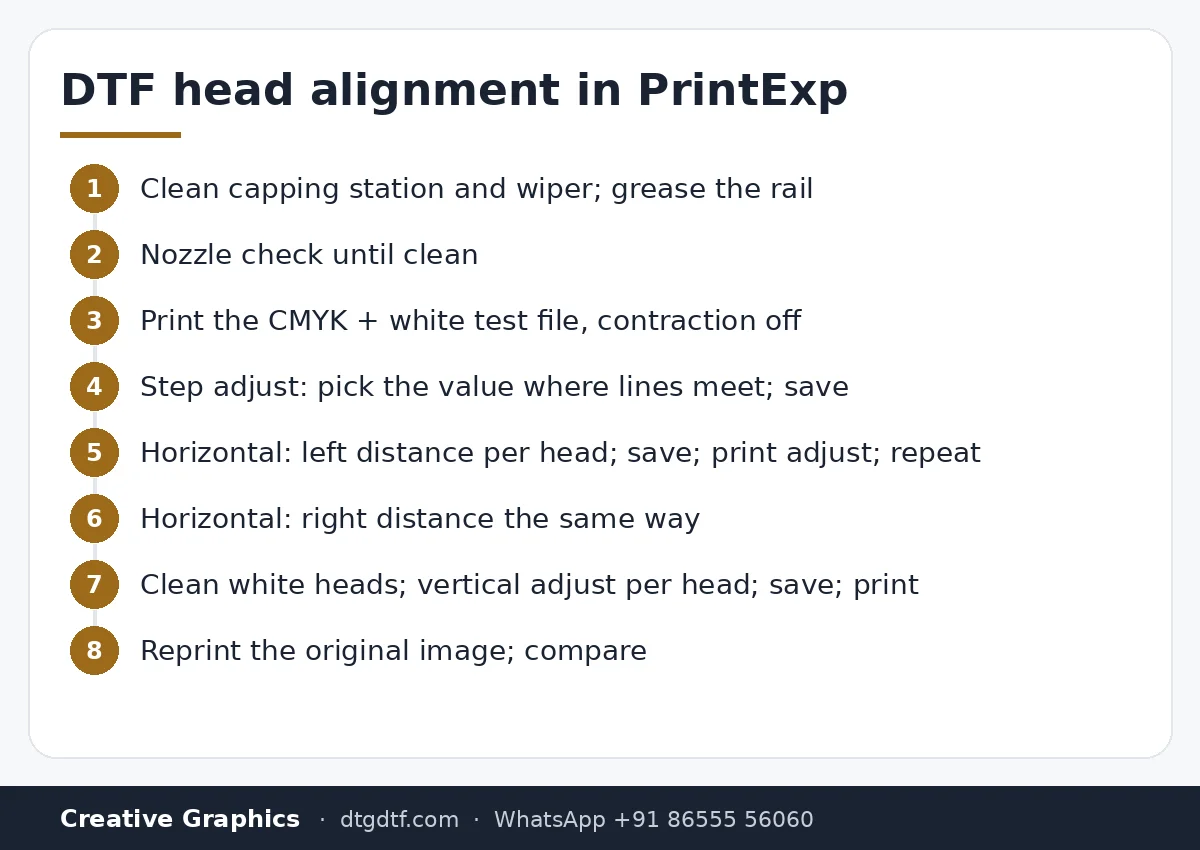
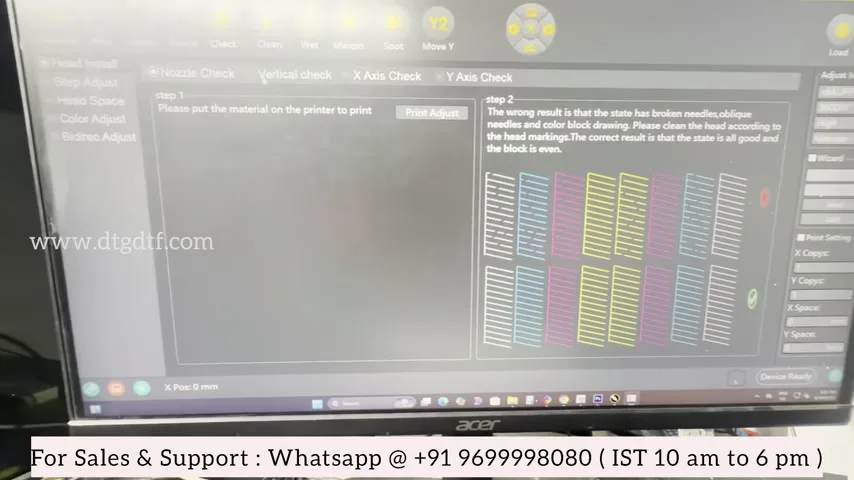
In PrintExp, open Adjust. Step adjust prints a strip; pick the value where the lines meet. Mine was zero. If minus one looks better on yours, enter minus one, save, print adjust again.
Horizontal: left and right distance
Head space, horizontal. Only the white heads need work on this machine, H3 and H4. On H3 the zero line was not clean and plus one looked better, so H3 gets plus one, save, print adjust. Still better at plus one than zero, so plus one again, making plus two, save, print: now zero is clean. H4 was fine at zero. Then do the right distance the same way; people skip it and wonder why the right side of every print is off.
Vertical adjust
Clean the white heads once more so the fine lines of this test are readable. H2's zero was far out: plus six. H3 also plus six. H4 needed plus twelve. Save, print the test again: every zero lines up. If a head still looks a hair off, plus two more, save, print. Then print the original image and compare before and after; the border is gone.
When to do it
Every three to six months, and every time you touch a head: replace one, move one from colour to white as I did, or retighten screws. Paper gets wasted; that is servicing. Supplier-level head install and the physical alignment are the supplier's job; the software alignment is yours. Related: i3200 manifold replacement, Maintop file preparation, and the Yinstar 24-inch this was done on.
Frequently asked questions
Why is white printing outside the colours?
Head alignment. The white head is offset from the colour heads; adjust step, horizontal and vertical in PrintExp.
Do I need a technician to align heads?
No. The software alignment takes about ten minutes. The physical head install is the supplier's job.
What do I do first?
Clean the capping station and wiper, grease the rail, and get a clean nozzle check. Then align.
How often?
Every three to six months, and whenever a head is replaced or moved.
Which values did you use?
H3 horizontal plus two; vertical H2 plus six, H3 plus six, H4 plus twelve. Yours will differ; read the test strips.
White still out after aligning?
Send the alignment test print on WhatsApp; we will read the values with you on a call.
WhatsApp +91 86555 56060More videos: Print heads, dampers and spares
- White Not Printing After a Few Days Off? Manual Head Flush and Metal-Mesh Dampers on the L1800 / L805
- Replacing the L18050 Manifold and Dampers With XP600 Parts, and Cleaning the Head by Hand: 30 Minutes, Uncut
- Manual Head Cleaning on the Epson L18050: Pull the Ink Out First, Then Push Solution In, One Damper at a Time
- Scratches Over Your DTF Print? Clean the Head Area, Then Fix Where the Film Lands
- Both Lights Blinking Red on the Epson L1800 or L805? Reset the Waste Ink Pad Counter in Three Minutes
- Fitting a White Ink Circulation System on an L1800 Yourself: Y-Connector, Two Pipes, and How to Run It Every Morning