How to Fit an XP600 Print Head: Cartridge Screws, Data Cable Film, Tape Over the Connector, and the Ink Sac Order
Published 3 November 2025
A head change on an XP600 machine is six captions long, and every one of them is a step people get wrong. The clip is silent, so this post is each caption with the reason behind it: why the film comes off the data cable, why a scrap of tape goes over the connector, which slot is Left, and why the ink sacs go on in exactly the order black, cyan, magenta, white, yellow, white.
What the video shows
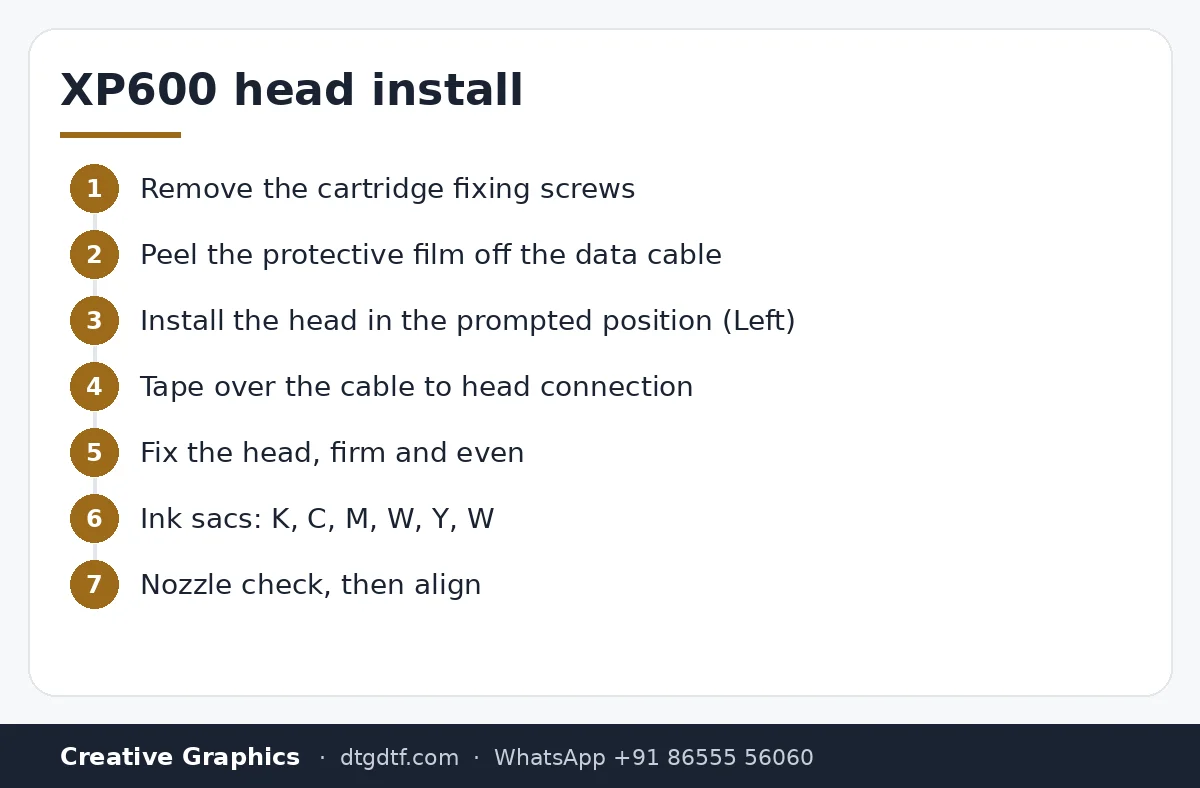
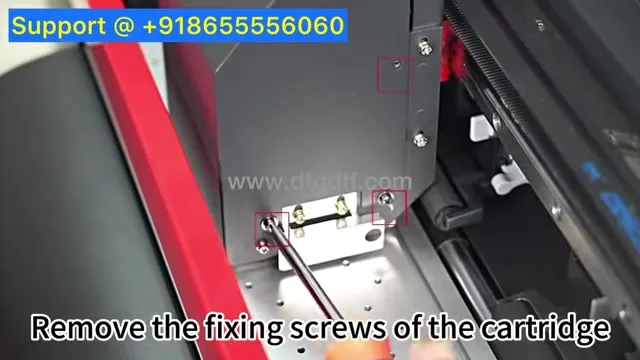
- 0:03 — Remove the fixing screws of the cartridge
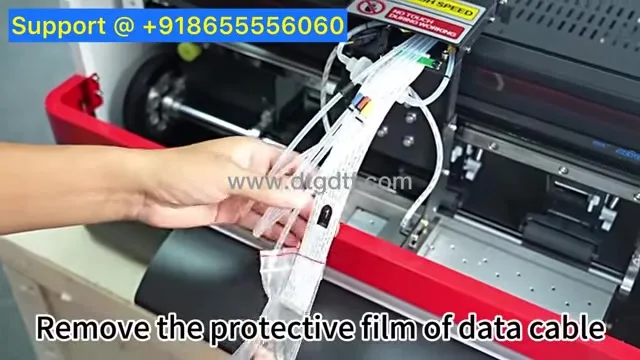
- 0:10 — Remove the protective film of the data cable
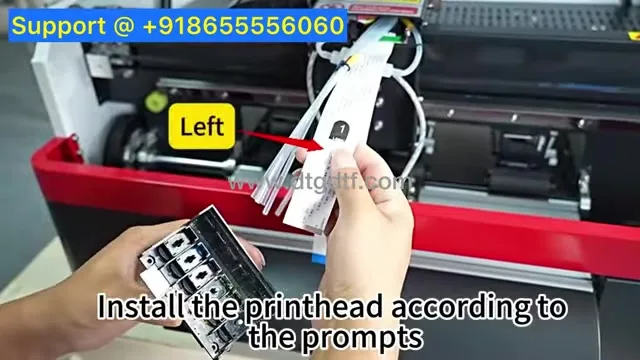
- 0:17 — Install the print head according to the prompts: Left
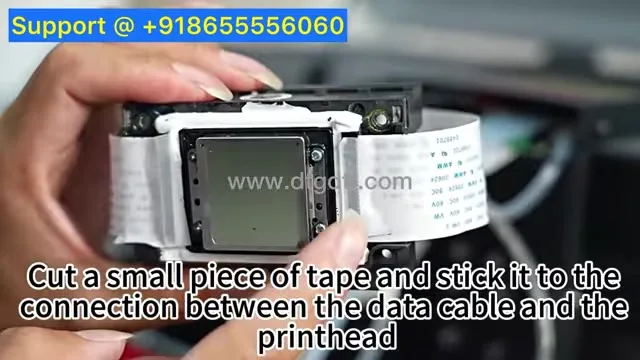
- 0:38 — Cut a small piece of tape over the data cable connection
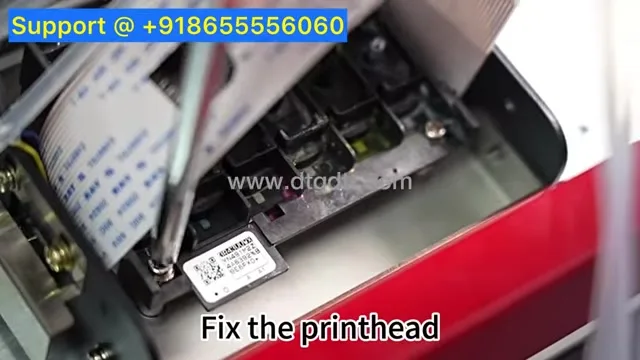
- 1:00 — Fix the print head
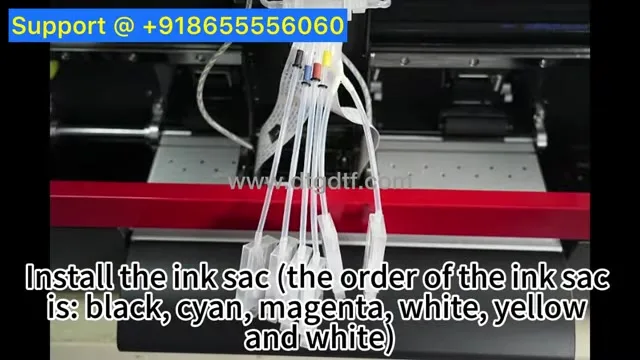
- 1:07 — Install the ink sacs: black, cyan, magenta, white, yellow, white
Screws and the data cable
The cartridge, the head holder, is held by fixing screws; remove them. A new head ships with a protective film on the data cable contacts; peel it off, by the edge, without touching the contacts. Ink or a fingerprint on those contacts is a dead channel.
Which side, and the tape
The machine prompts which position the head goes in; here it is Left. Seat the head and the data cable, then cut a small piece of tape and stick it over the connection between cable and head. Vibration works a data cable loose over months; the tape is cheap insurance against a head that dies for no visible reason.
Fix the head, then the ink sacs
Screw the head down, firm and even. Then the ink sacs, the dampers, in the order the machine expects: black, cyan, magenta, white, yellow, white. Two whites, one at each end of the sequence here, because the white channels are doubled. Get the order wrong and the RIP's channel map prints the wrong colour, or white where yellow should be.
Parts and the next steps
Heads: original XP600, AAA grade, A grade; cables: XP600 head cable 1.5 m; dampers: set of six. After a head change, align: head alignment guide. If the old head is dropping nozzles on one channel only, read the manifold post before buying a new one.
Frequently asked questions
Why tape over the data cable connector?
Vibration loosens the cable over months and the head dies without visible cause. Tape holds it.
What is the ink sac order on this XP600 setup?
Black, cyan, magenta, white, yellow, white. Match the RIP's channel map.
What must I do after fitting a new head?
Head alignment in the printer software, and a nozzle check.
Which head grade?
Original for production; AAA for a tested replacement at lower cost.
Head change coming up?
WhatsApp the machine model; we will confirm the head grade and the sac order for your board.
WhatsApp +91 86555 56060More videos: Print heads, dampers and spares
- White Not Printing After a Few Days Off? Manual Head Flush and Metal-Mesh Dampers on the L1800 / L805
- Replacing the L18050 Manifold and Dampers With XP600 Parts, and Cleaning the Head by Hand: 30 Minutes, Uncut
- Manual Head Cleaning on the Epson L18050: Pull the Ink Out First, Then Push Solution In, One Damper at a Time
- Scratches Over Your DTF Print? Clean the Head Area, Then Fix Where the Film Lands
- Both Lights Blinking Red on the Epson L1800 or L805? Reset the Waste Ink Pad Counter in Three Minutes
- Fitting a White Ink Circulation System on an L1800 Yourself: Y-Connector, Two Pipes, and How to Run It Every Morning