Manual Head Cleaning on the Epson L18050: Pull the Ink Out First, Then Push Solution In, One Damper at a Time
Published 16 July 2025
Do this only if ink charging and normal head cleaning have both failed. I say that at the start of the video and again at the end, and I mean it: if something goes wrong, it is your printer. Done properly, though, this is the best way to clear a converted L18050 head, and after three, four or six months of DTF most printers need it once. Seven minutes, one damper shown in full, the rest are the same. Here it is in English.
What the video shows
- 0:01 — Only if ink charging and head cleaning do not work
- 0:29 — Release the head; switch off; tissue over the head cable
- 1:16 — Lock the ink; remove the white pipe from one damper
- 1:49 — Why the tissue: the head cable shorts if ink reaches it
- 2:38 — Push the pipe on; pull the ink out of the head first
- 3:24 — Pull again: dust and dried particles come out with it
- 4:01 — Now the cleaning solution, pressed very slowly
- 4:49 — It pushes back; press again; bleed the air before removing
- 5:27 — Pipe back on; solution has come out below; repeat per colour
- 6:04 — Four CMYK boxes in CorelDRAW tell you which channel is blocked
- 6:40 — Again: only if required
When, and when not
Ink charging first. Head cleaning from the printer second. If both fail, then this. Not as a routine; as a repair. Three to six months of regular DTF work is roughly when a converted L18050 needs it once.
Prepare
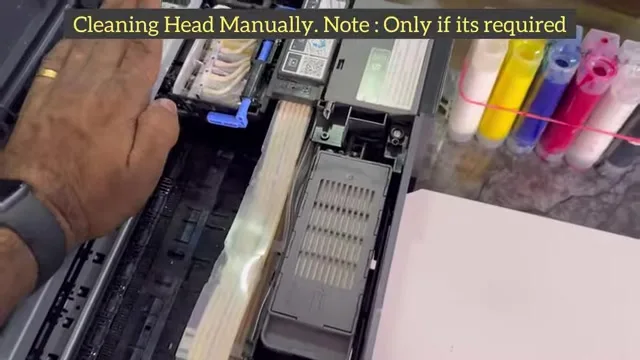
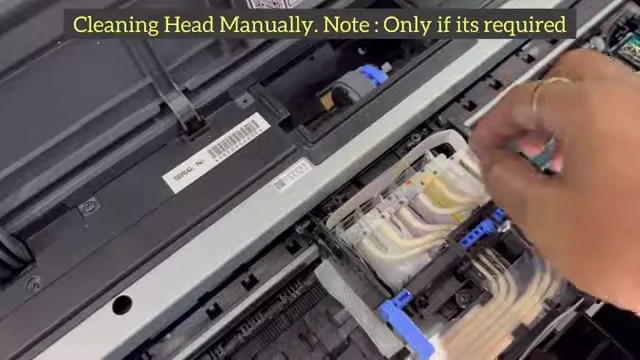
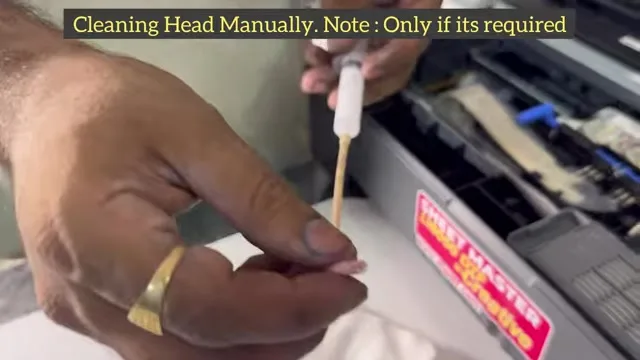
Switch on, release the head, switch off. Lay tissue over the area below the dampers without any solution on it. The head cable runs underneath, and ink on that cable shorts the head. If this is your first time, pack more tissue than you think you need. Lock the ink line, then remove the white pipe from one damper. I show white; the other colours are the same.
Pull before you push
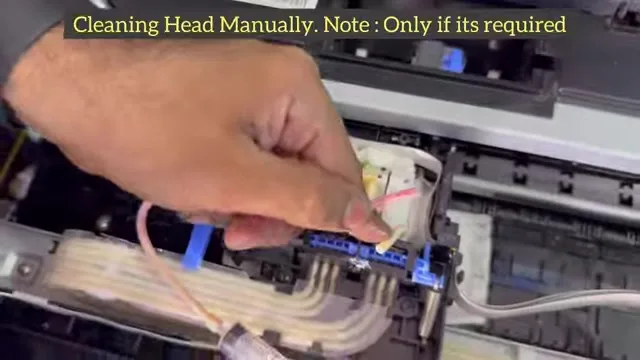
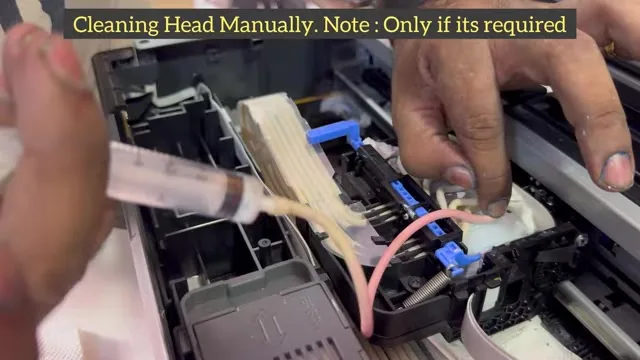
This is the part most people get backwards. Push the syringe pipe onto the damper and pull: the white ink comes out of the head into the syringe, and any dust or dried particles in the damper come with it. Empty, pull again. Only when the colour is out do you put solution in. Pushing solution into a head still full of pigment just moves the clog.
Solution, slowly
Fresh syringe of cleaning solution. Press very slowly. It will push back; press again, and again, until it goes through and you see solution coming out below the head onto the tissue. Before you pull the syringe off, draw a little air back so the ink does not blow out of the pipe. Fit the ink pipe back properly, clean up, and repeat for each colour that needs it.
Which colour is blocked?
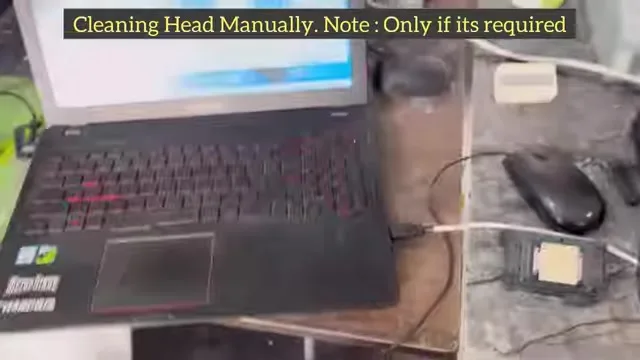
If a print looks wrong and you cannot tell which channel is the problem, make a file with four solid boxes, C, M, Y, K, in CorelDRAW or anything else, and print it. The printer tells you. Add a white box if your RIP lets you, and you have the whole picture.
Parts and related
Cleaning solution; if the dampers themselves are tired, the damper set; and if the head is beyond cleaning, the L18050 head. Routine care that avoids this is in L18050 maintenance; the full manifold swap is here.
Frequently asked questions
When should I clean the L18050 head manually?
Only if ink charging and the printer's head cleaning have both failed. Roughly once every three to six months on a busy converted printer.
Why pull ink out before pushing solution in?
Pulling removes pigment, dust and dried particles from the damper and head. Pushing solution into a full head only moves the clog.
How fast should I press the syringe?
Very slowly. It pushes back; keep pressing gently until solution comes out below the head.
How do I protect the head cable?
Pack tissue below the dampers before removing any pipe. Ink on the cable shorts the head.
How do I know which colour is blocked?
Print a file with four solid CMYK boxes. The missing or streaky box is the channel.
Related guides
Head still blocked after this?
Send the four-box test print on WhatsApp. We will say whether it is damper, manifold or head.
WhatsApp +91 86555 56060