Replacing the L18050 Manifold and Dampers With XP600 Parts, and Cleaning the Head by Hand: 30 Minutes, Uncut
Published 29 July 2024
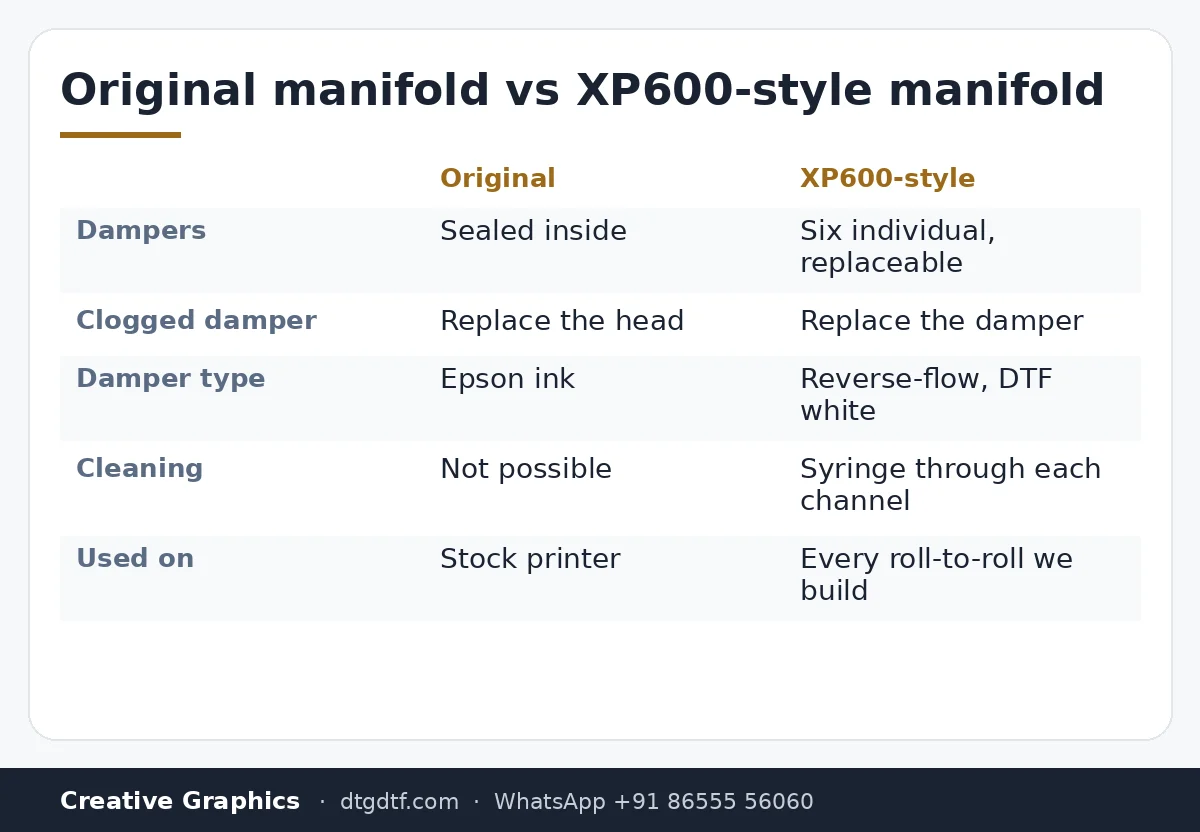
The original manifold on the L18050 is sealed. When a damper clogs, nobody can clean it and nobody can replace it; you replace the head. So on every roll-to-roll printer we build we swap the manifold for an XP600-style one with individual reverse-flow dampers, and this video is me doing that, plus a manual head clean, in one uncut sitting. It is fiddly and you are responsible for your own printer, which I say twice in the video. Here it is in English with the parts where ink spills and what to do about it.
What the video shows
- 0:01 — Why: XP600 dampers instead of the sealed original manifold
- 0:40 — Free the head: switch on, pull the power cable as it moves
- 1:03 — Two screws, cover off, lock the inks, pull the pipes
- 1:31 — Ink drops: keep it off the head cable
- 1:54 — Switch on and run a head clean to empty the dampers
- 3:21 — The manifold and the XP600 dampers
- 4:48 — Screws out, carefully; tissue on both ends of the cable
- 9:05 — Four screws, two cables, pull from the taped side
- 9:56 — Dampers only? No cables need to come off
- 10:48 — Clean every drop; throw the old dampers away
- 11:47 — Dust on the head wipes onto the paper
- 13:57 — Sealed original vs serviceable manifold; use S9X brand
- 15:17 — Clean the cable; flush each of the six channels with solution
- 17:54 — All six clear; dry with an air blower
- 18:25 — Reverse-flow dampers: why cheap ones are cheap
- 19:23 — Roll-to-roll: forward-reverse, capping motor, no feed rod
- 20:07 — Ink circulation only if you use other inks
Why change the manifold at all
The original L18050 manifold is one sealed block. If something goes wrong inside it, nobody can clean it or do anything; that is why most people doing serious DTF replace it. The XP600-style manifold takes individual dampers, the same ones you see on big machines, so a clogged damper is a two-minute change instead of a new head. These are not regular dampers: reverse-flow, high quality. The same procedure works on the L8050.
Free the head, lock the inks
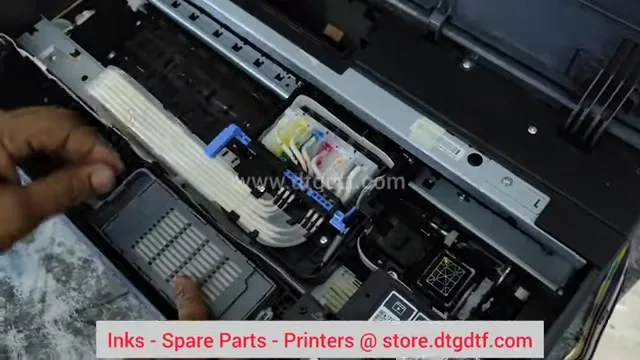
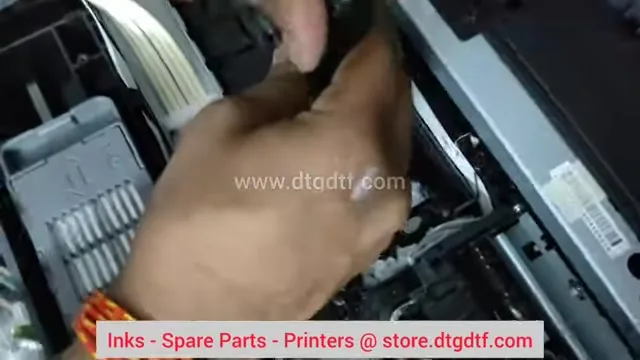
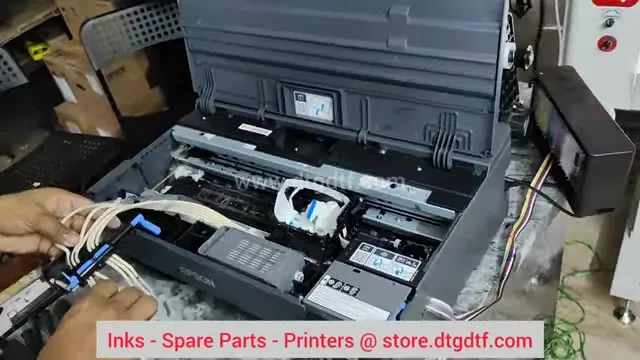
Switch the printer on, and when the head moves left pull the power cable. The head is free. Two screws hold the cover; remove them and push the cover off. Lock the inks, then pull the pipes. Some ink drops will come out, and here is the first rule: the original dampers hold ink, and if that ink reaches the head cable it damages the printer straight away. Tissue on both ends of the cable before you go further.
Empty the dampers first
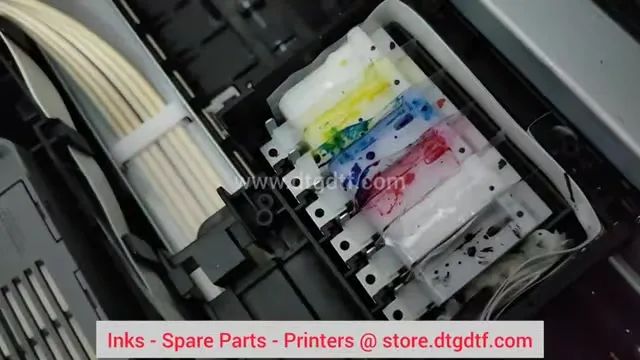
Push the head back, plug in, switch on and run a head clean. The capping station sucks the ink out of the dampers so there is less to spill when they come off. On this roll-to-roll model there is a custom module, so the clean takes longer; without the module the step is the same. Keep the capping station area clean always.
Head off
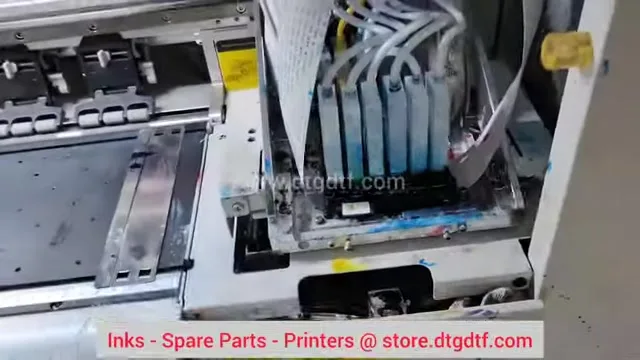
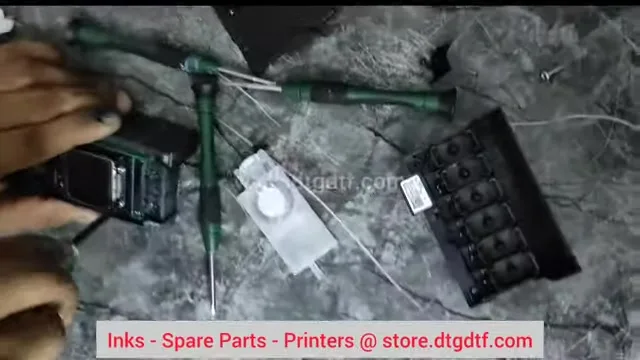
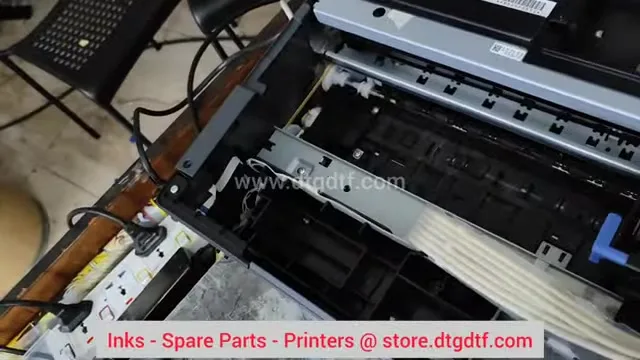
Remove the screws, slowly. I say on camera that these printers are complicated and you are responsible for what you do. Even after the clean, ink dropped out, so clean twice and keep the tissue there. Four screws hold the head; two cables come off, pulled from the taped side where there is glue. If you only want to change dampers and keep the original manifold, you do not remove any cable. Clean every drop of ink immediately. The old dampers go in the bin; you are not reusing them.
Fit the new manifold
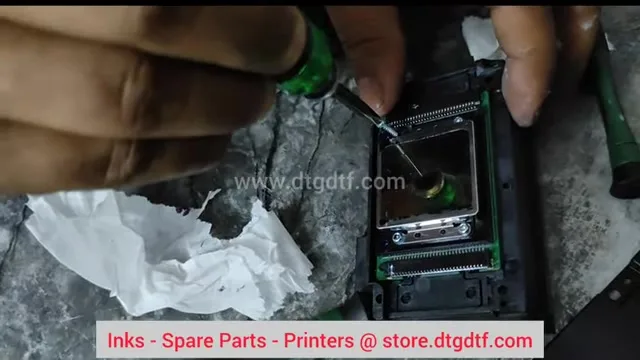
Four screws off the old manifold, check the head face for dust (dust on the head is what wipes scratches onto your prints), do not remove the nozzle plate side, and fit the new manifold the way the old one came off. Tighten crosswise, not fully tight. Use a good brand; S9X manifolds are the ones I trust. Check that no ink has gone inside the new one.
Clean the head by hand
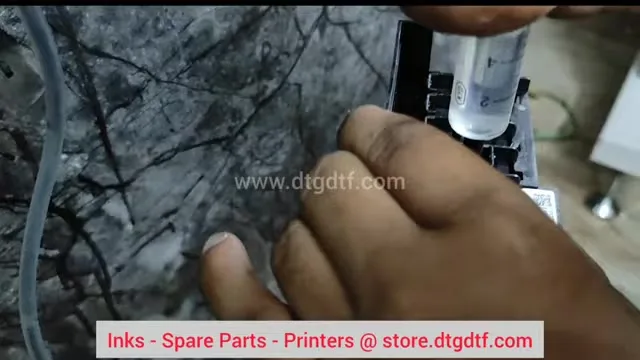
Clean the cable with soft tissue. Draw cleaning solution into a syringe with a short rubber pipe on it and push it through each of the six channels until it runs clear; white first, then the rest, repeating where it resists. Dry the head and manifold with an air blower.
Dampers and refit
People ask why our dampers cost more than somebody else's. These are reverse-flow: they do not pull ink unless there is pressure from below, so the head does not flood. Fit all six on the pipes, refit the head, cables, cover, screws. While doing that in the video I explained what else goes into our roll-to-roll build: forward-reverse, a motor added to the capping station because the stock printer used one motor for three jobs, no paper feed rod, direct roll feeding. Ink circulation is only needed if you use someone else's inks; with ours, no.
Parts
XP600 manifold, damper set of six, cleaning solution, and if the head itself is gone, the L18050 print head. Related: L18050 routine maintenance and the manual flush on the L1800.
Frequently asked questions
Why replace the L18050 manifold?
The original is sealed; a clogged damper cannot be cleaned or replaced. An XP600-style manifold takes individual reverse-flow dampers.
Does this work on the L8050?
Yes. Same head, same procedure.
How do I stop ink reaching the head cable?
Lock the inks, run a head clean to empty the dampers, and keep tissue on both ends of the cable. Clean every drop at once.
Do I need to remove cables to change only the dampers?
No. Cables come off only when the manifold is replaced.
Which manifold brand?
S9X. Check no ink has entered the new manifold before fitting.
Do I need ink circulation after this?
Only if you use other inks. With our low-sediment inks, no.
Related guides
Not confident doing this yourself?
Send the printer model and a nozzle check on WhatsApp; we do this at the Navi Mumbai and Hyderabad units.
WhatsApp +91 86555 56060