One Shortcut Key for the DTF White Layer: Recording a Photoshop Action That Converts to CMYK, Contracts, and Adds the W1 Spot Channel
Published 31 May 2023
Every DTF file goes through the same five clicks in Photoshop: CMYK, select, contract, spot channel, save. Record them once and a shortcut key does it. This is the May 2023 guide, including the false start where I began recording before the file was ready, because that is the mistake everyone makes. Shift-F2 at the end turns a raw PNG into a print-ready TIFF with the W1 white channel in a second.
What the video shows
- 0:00 — Window, Actions: the panel that records what you do
- 0:27 — New action, shortcut Shift-F2
- 1:04 — False start: canvas size got recorded; stop, delete, restart
- 2:49 — Prepare the design first in CorelDRAW: 11 inches wide, mirrored
- 3:49 — Export: no unnecessary margin; TIFF for quality, PNG for small files
- 4:31 — Start recording; open the file; Image, Mode, CMYK
- 5:03 — Ctrl-click the layer thumbnail to select the artwork
- 5:29 — Select, Modify, Contract by 1 (2 or 3 if the outline runs out)
- 5:55 — Channels: new spot channel W1, solidity 100 percent
- 6:23 — Stop recording before Save As
- 6:54 — Test: open a raw file, press Shift-F2, Save As
Prepare the file first
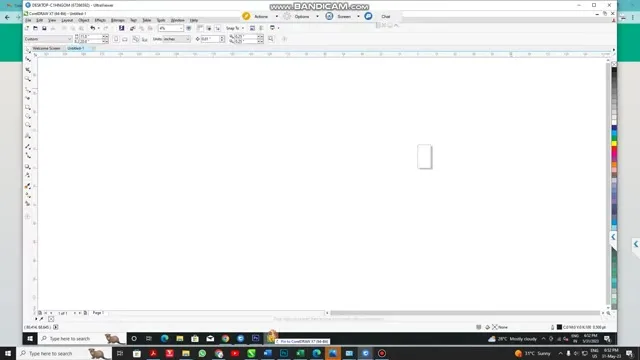
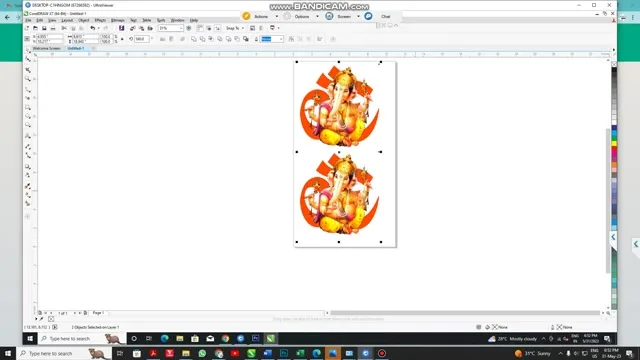
Actions record everything, including mistakes. The first attempt recorded a canvas resize that should not be in the action, so I stopped, deleted it, and did the sizing where it belongs: in CorelDRAW, 11 inches wide for a 12-inch printer, mirrored, exported as TIFF for quality or PNG for small files, with no empty margin around the artwork.
Record the action
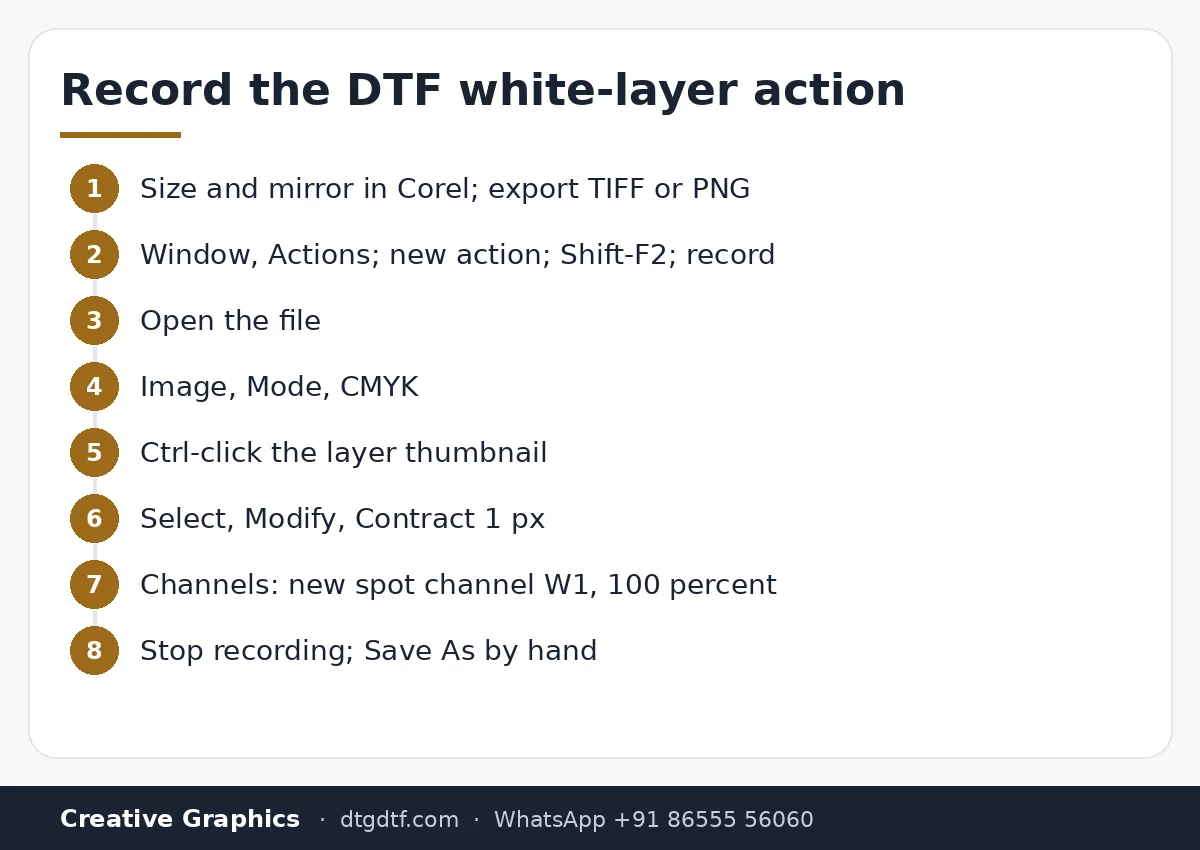
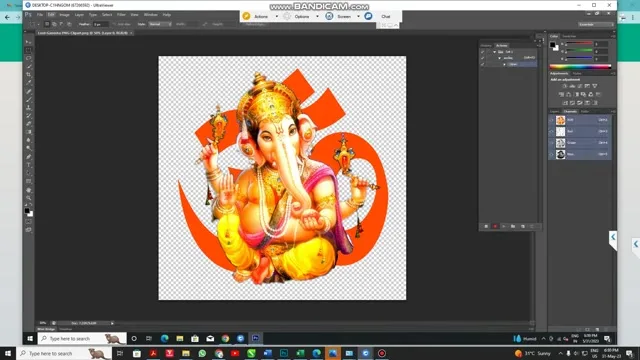
Window, Actions. New action, name it, shortcut Shift-F2, record. Open the file. Image, Mode, CMYK. In Layers, Ctrl-click the thumbnail so only the artwork is selected. Select, Modify, Contract, 1 pixel, or 2 to 3 if your white runs outside the colour. Channels, new spot channel, name W1, solidity 100 percent. Stop recording. Do not record Save As; the folder and name change every job.
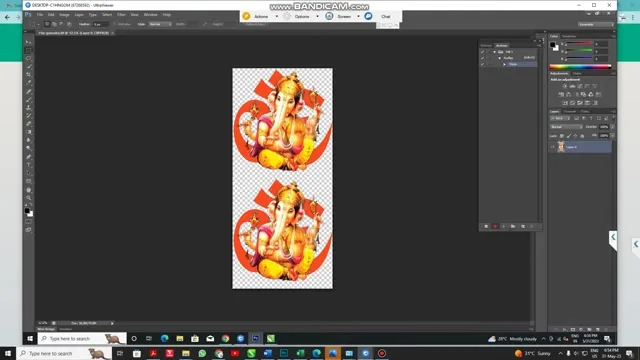
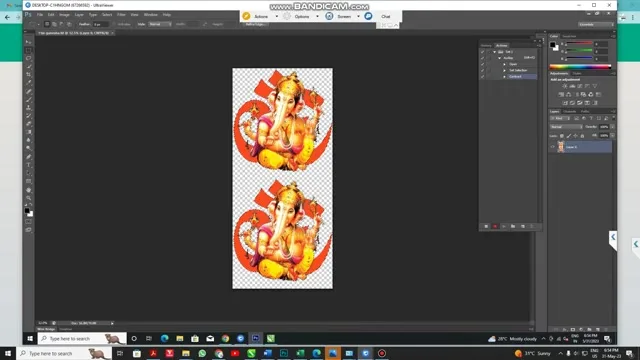
Use it
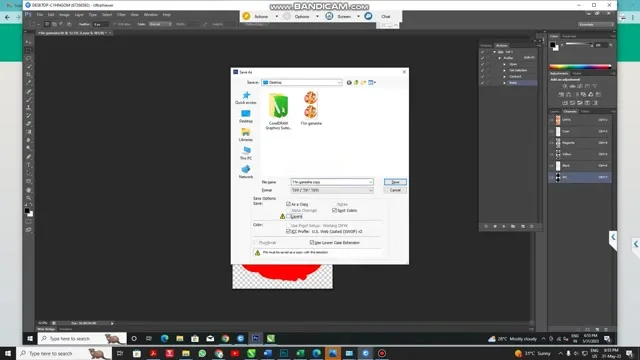
Open any prepared file, press Shift-F2, and Photoshop converts, selects, contracts and adds W1, then stops at Save As. Save as TIFF, remove layers if asked, and the file goes to Maintop or AcroRIP. One key, every job.
Related
The full manual version of this workflow, with the printer connection, is Atool, Maintop and Photoshop. If you would rather skip Photoshop altogether, DTF Powerhouse builds the sheet from PNGs. RIP for desktop printers: DTF RIP 11.2.
Frequently asked questions
What does the Photoshop action do?
Converts to CMYK, selects the artwork, contracts by a pixel, adds a W1 spot channel at 100 percent, and stops at Save As.
Why not record Save As?
The folder and file name change every job. Stop recording before it.
Why did the first recording fail?
A canvas resize got recorded. Size the design in Corel first, then record only the Photoshop steps.
How much to contract?
One pixel normally; two or three if the white outline runs outside the colour.
Action not running?
WhatsApp a screenshot of the Actions panel; usually one step got recorded that should not have.
WhatsApp +91 86555 56060More videos: Roll printing software (ZiggRoll, SubliPhoto, Powerhouse)
- ZiggRoll V4 Now Runs DTF Rolls on the Epson L18050 and L8050: No Tape, No Paper Error
- Roll Printing on a Stock Epson L8050: No Modification, No RIP, Just ZiggRoll SubliPhoto
- The Clip That Started ZiggRoll: Roll Printing on a Stock Epson L1800 at a 2023 Exhibition
- Printing a DTF Roll on the L18050 with ZiggRoll V4 and AcroRIP 11.2: The Full Walkthrough
- ZiggRoll SubliPhoto in Studio Mode: Continuous Sublimation Rolls on Unmodified Epson Printers
- ZigRoll, Every Function Live and Uncut: Roll Printing on a Plain Epson L1800 with No Module