Colours Coming Too Dark or Too Light on DTF? Ink Percentage, White Percentage, Curing and Film, Tested Live
Published 19 November 2021
Colours coming dark, colours coming light, white outlines: every DTF beginner has the same three complaints and wants one setting that fixes them. In November 2021 I printed the same sky-and-clouds image several ways on an L1800, with the oven and the press beside it, to show that the answer is a chain: ink, film, powder, ink percentage, white percentage, curing. The audio on this upload is poor, so this is written from what I printed and what I said.
What the video shows
- 0:00 — Why colour calibration is not one setting
- 0:39 — Ink and PET film quality matter most
- 1:59 — The same image at different white percentages
- 3:19 — The oven: curing changes colour
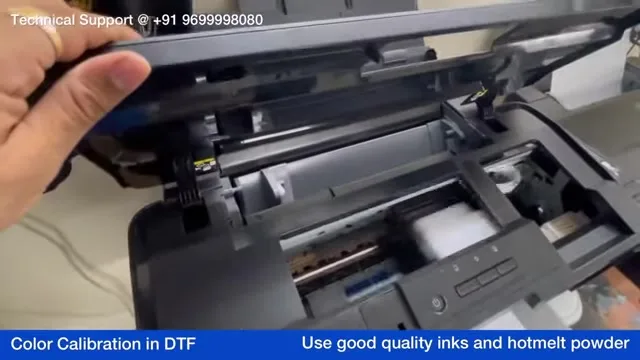
- 4:39 — Inside the printer: roll module, feeding
- 5:46 — CMYK at 60 percent versus lower
- 6:52 — Heat press hover-curing is slow and inconsistent
- 7:53 — Powder melt temperature: follow the maker, do not exceed
- 9:59 — Prints come out lighter than the screen
- 11:19 — Dot size and photo images
- 12:39 — Keep the same materials; test and note
- 15:19 — White outline: choke in the RIP
Materials first
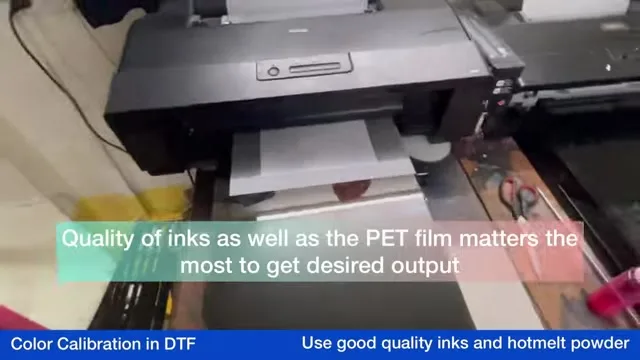
Before any setting, ink and film. Low-grade ink gives low saturation whatever percentage you put in; low-grade film takes ink unevenly and the colour shifts across the sheet. Same with powder. The caption on the video says it and I will say it again: the quality of inks and PET film matters the most for the output you want.
Same image, different white
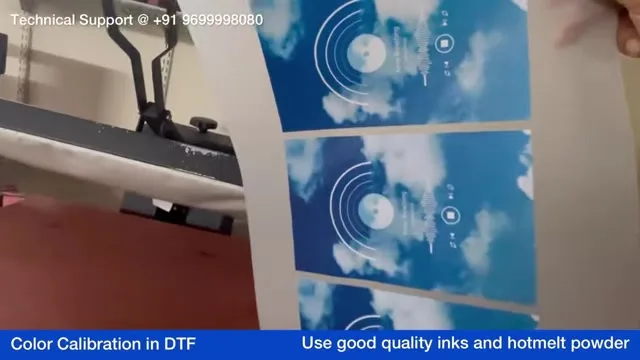
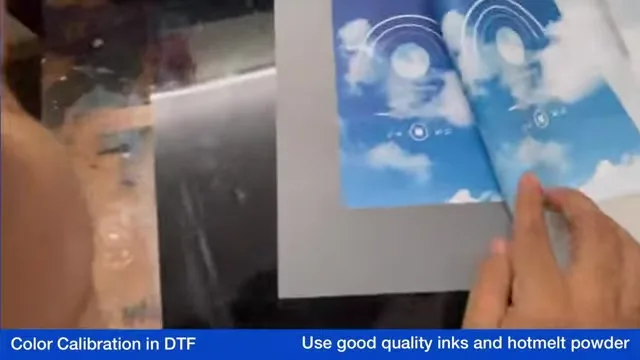
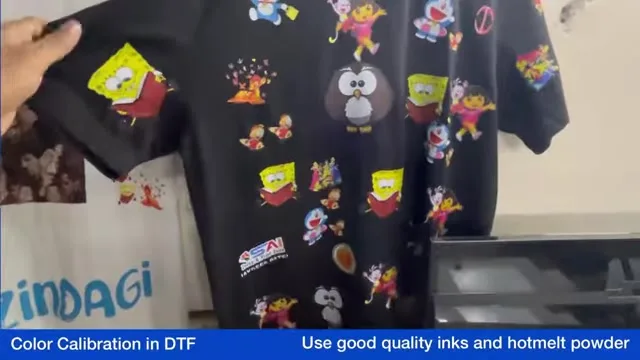
I printed the sky-and-clouds image with the white layer at different percentages and laid the prints side by side. Less white under a light image keeps it soft; full white makes the colours sit on a hard base and look heavier. There is no correct number, there is the one that matches the garment and the image, which is why you print a test strip rather than trusting a forum.
CMYK percentage
In the RIP the CMYK ink percentage is not a fixed value; on this printer I run around 60. Too high and the ink floods and the image goes dark and muddy; too low and it goes washed out. Change it in steps and print the strip again. For photographs and skin tones, dot size matters as much as percentage; try the smaller dot options.
Curing changes colour
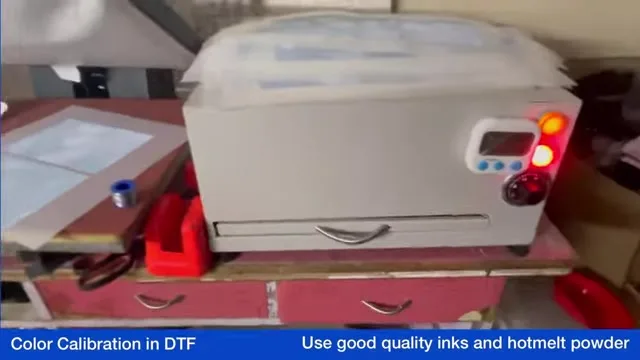
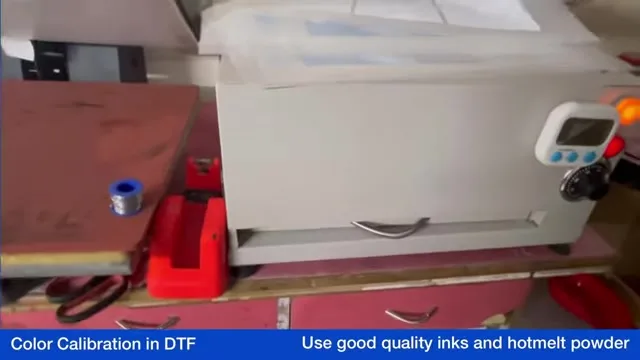
Over-curing dulls colour; under-curing leaves the powder grainy and the transfer fails in the wash. Hovering a heat press over the film is slow, uneven and heats the film from one side. The oven cures the whole sheet at a set temperature. Follow the powder maker's melting temperature and do not exceed it; the recommended range for the hot-melt we use is on the pack, and higher is not better.
Screen versus print, and repeatability
Prints come out lighter than a lit screen. Raise the brightness in the file a little, print, compare, note the offset. Then keep everything the same: same ink, same film, same powder, same settings. Change one thing at a time. The white outline around a print is a separate fix, the choke setting in the RIP, covered in the AcroRIP settings post.
Today
Same chain, newer gear: premium white and CMYKW ink, double-matt A3 film, 100 percent TPU powder, and the A3 oven. Related reading: white ink troubleshooting and 60 vs 75 micron film.
Frequently asked questions
Why are my DTF colours dark?
Usually too much CMYK ink percentage, a heavy white base, or over-curing. Reduce in steps and print a test strip each time.
Why are my DTF colours light?
Low ink percentage, low-grade ink or film, or a screen that is brighter than any print. Raise brightness in the file and compare.
What white percentage should I use?
It depends on the image and garment. Print the same image at several percentages and pick by eye.
Oven or heat press for curing?
Oven. Hover-curing with a press is slow and uneven, and curing temperature affects colour.
How do I get the same colour every time?
Same ink, same film, same powder, same settings. Change one thing at a time and note it.
Related guides
- What is DTF Printing? Direct-to-Film Explained Simply
- DTF Printing Cost Per Meter — Real Numbers from a Print Shop
Colour not matching?
Send the print and the screen side by side on WhatsApp, and name your ink and film. That is usually enough to say what to change.
WhatsApp +91 86555 56060