Fluorescent DTF: Fill the CMYK Tanks With Fluorescent Ink, Design in Pure Channels, and Watch It Glow Under UV
Published 31 May 2022
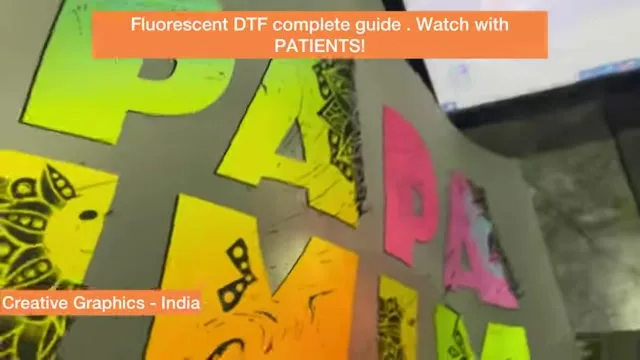
I had been waiting for an excuse to make this video, and a customer in Mumbai who wanted a fluorescent DTF printer gave me one. The ink is the easy part: fill the CMYK tanks with fluorescent ink. The hard part, which nobody tells you, is the design. Fluorescent printing is not mixing colours; it is choosing one pure channel per element. Fifteen minutes, one printer, one design redrawn the right way, and a black light at the end.
What the video shows
- 0:02 — Two fluorescent prints, same printer, different brightness: the colour profile
- 0:42 — CMYK fluorescent set versus spot colours
- 1:50 — A startup needs many colours, so CMYK
- 2:26 — Orange prints with a golden tint: expect it
- 3:26 — Redesign: ungroup, then one pure channel per element
- 3:47 — 100 percent magenta, not a mix; no shades of green
- 5:03 — White stays white; it is not a fluorescent shade
- 5:28 — The printer: fluorescent tanks; printer and bed on one plane; no vacuum
- 6:29 — Print from AcroRIP with built-in profiles; wrong printer selected, cancel
- 7:45 — Film: Chinese sheets vary; print on the gloss side as marked
- 8:36 — Desktop printers for all of it, not the 12-inch
- 9:19 — No visible white layer behind bright inks
- 10:25 — Powder and curing: what a properly cured sheet feels like
- 11:40 — Print brighter than the display: print before you post
- 12:29 — Transfer onto the tee
- 13:15 — Under black light
Ink: CMYK set or spot colours
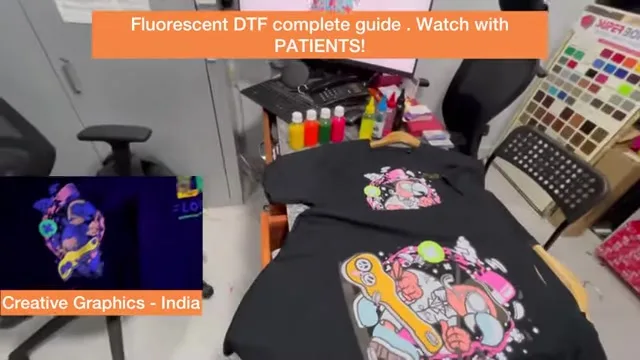
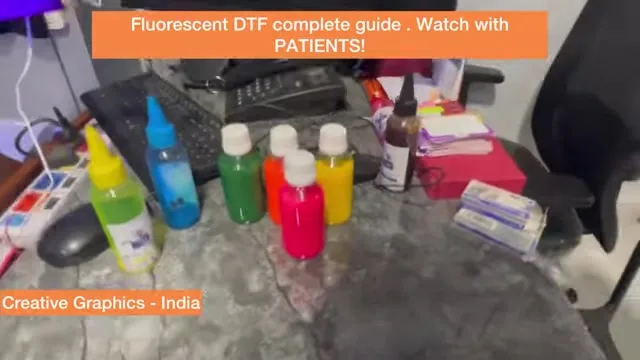
Two ways. Fill the four colour tanks with a fluorescent CMYK set and the RIP mixes as usual; you get many colours, none of them exact. Or load spot colours, one tank per fluorescent shade, when a job needs a specific 100 percent orange and nothing else. For a startup that needs variety, CMYK. Expect orange to come out with a golden tint; that is the ink, not an error.
Design rules
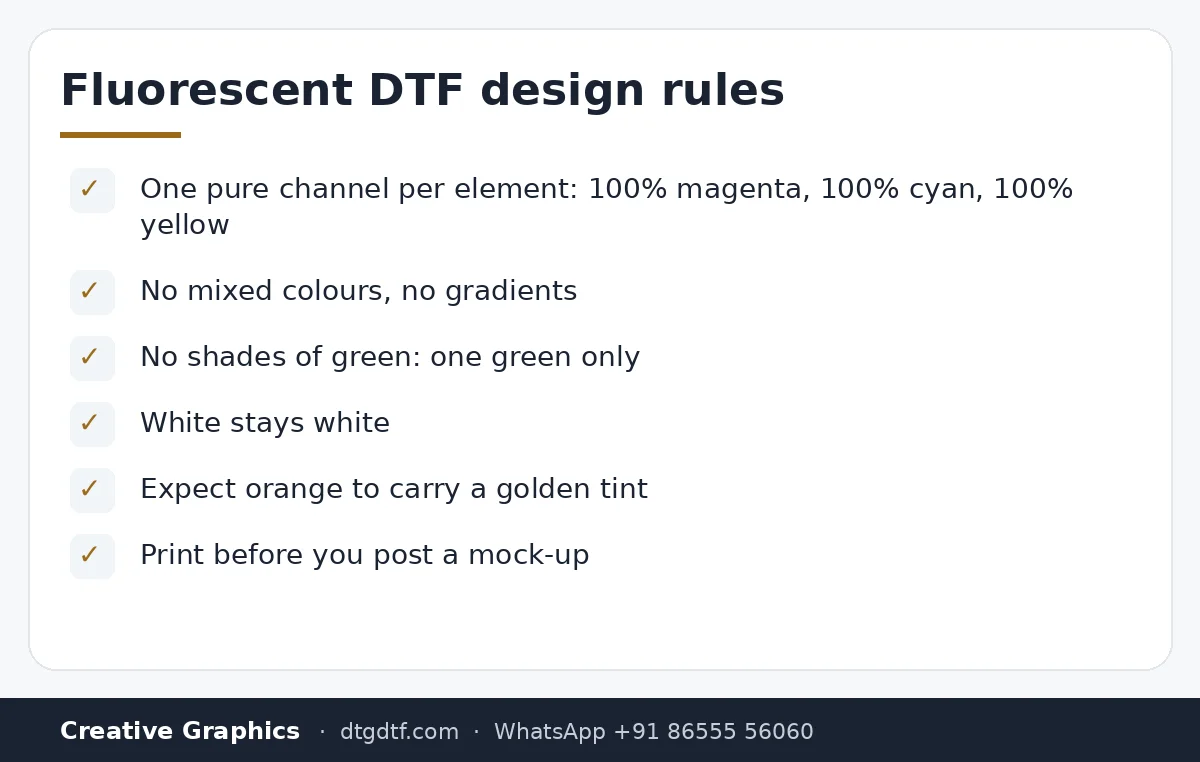
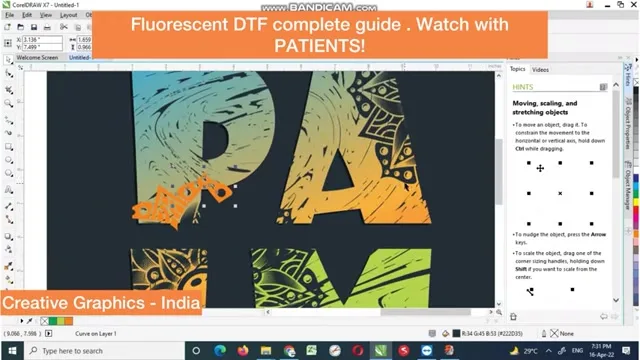
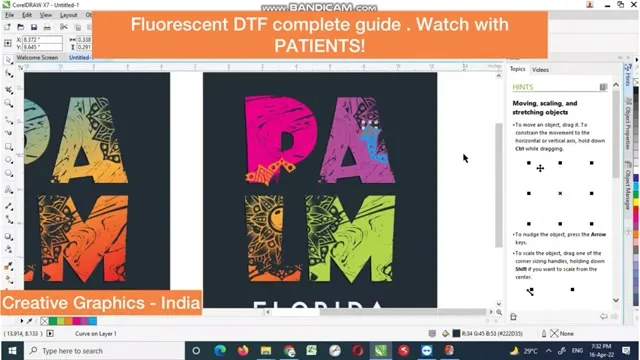
This is where fluorescent jobs fail. Ungroup the design and give every element one pure channel: 100 percent magenta, 100 percent cyan, 100 percent yellow. A mixed colour prints as a mix of fluorescent inks and loses the glow. There are no shades of green: green is one colour, made from yellow and cyan, and it prints one way. White stays white; it is not a fluorescent shade. I redrew the PALM FLORIDA design in the video exactly this way.
Printer and film
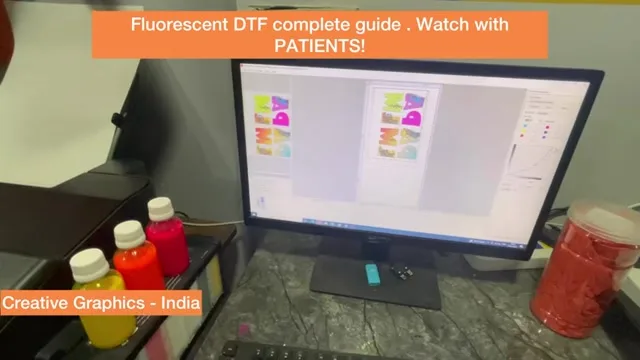
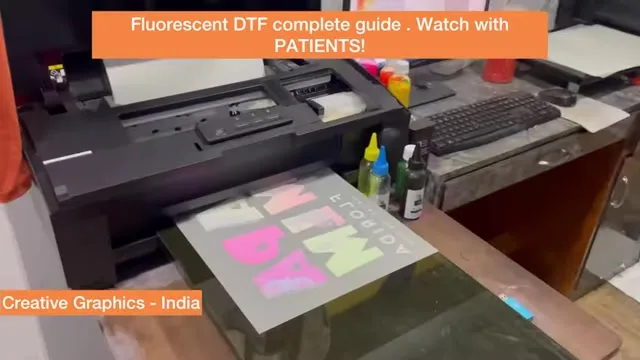
The printer is a converted desktop Epson with fluorescent tanks and the built-in profiles already in AcroRIP, so there is no profiling on your side. Printer and bed on the same plane; no vacuum, which I call a waste of money and a waste of printer. Film: sheets vary batch to batch and there is no Indian manufacturer, so print on the side the pack says, gloss here, not matte. I selected the wrong printer the first time and cancelled; that is what uncut looks like.
Cure and press
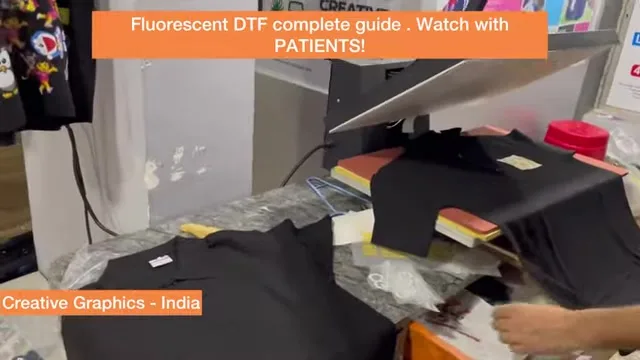
Powder, then cure in the oven; a heat press held above the film works too. Properly cured means the powder has turned into a continuous plastic-like skin you can feel; we do it by eye and touch, not by timer. Press onto the tee and compare with the screen: fluorescent prints come out brighter than the display, the opposite of regular DTF. Print before you post a mock-up, or customers will say the colours are different.
Today
We still convert desktop Epsons for fluorescent on request; the base printer is the converted L18050, and the design rules above have not changed. The regular ink set is here; message us for fluorescent tanks. Film: A3 sheets.
Frequently asked questions
How do I print fluorescent DTF?
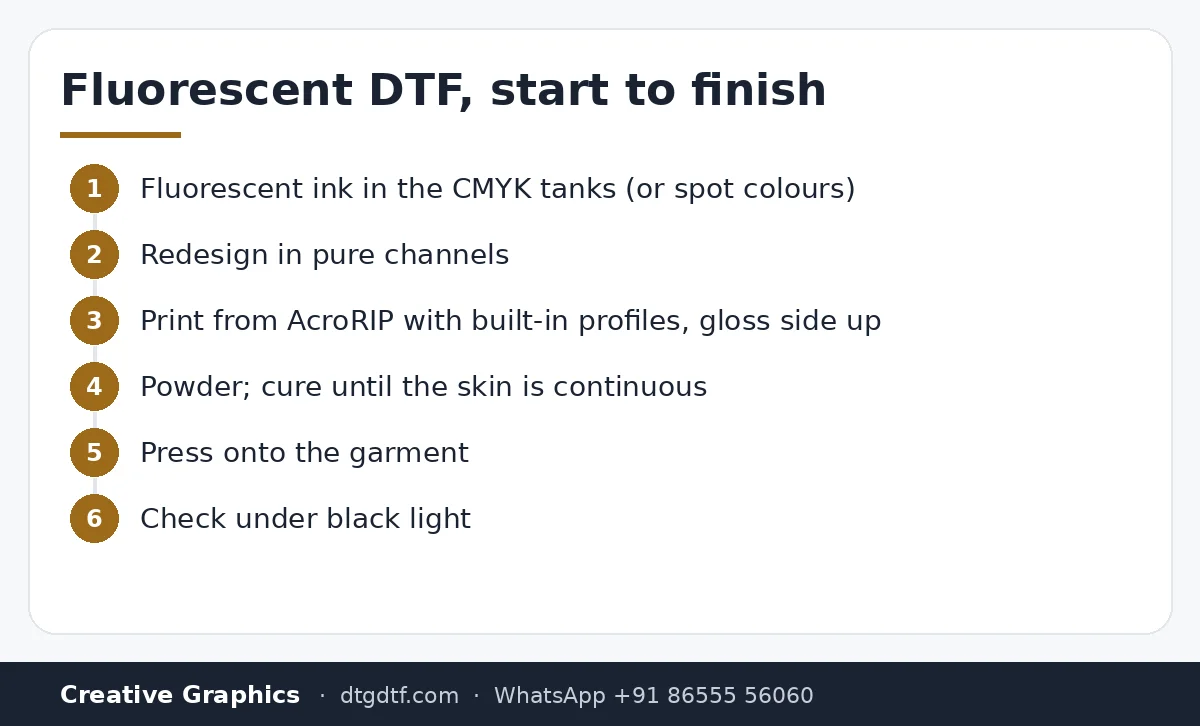
Fill the colour tanks with fluorescent ink (CMYK set or spot colours), design in pure single channels, print with the built-in profiles, powder, cure, press.
Why do my fluorescent colours look dull?
Mixed colours. Each element must be 100 percent of one channel. Mixes lose the glow.
Does white print under fluorescent inks?
Yes, but you will not see it; the inks are bright enough to hide it.
Do I need a vacuum bed?
No. Keep the printer and bed on one plane and the film runs flat.
Why is the print brighter than my screen?
Fluorescent ink reflects more than a display can show. Print a sample before posting mock-ups.
Related guides
Want a fluorescent printer?
Send your designs on WhatsApp first. I will tell you whether CMYK fluorescent or spot colours suits them.
WhatsApp +91 86555 56060