Black Book and Project Book Binding From Scratch: Gold Embossing on Rexine, Then Bind It in Five Minutes
Published 2 March 2026
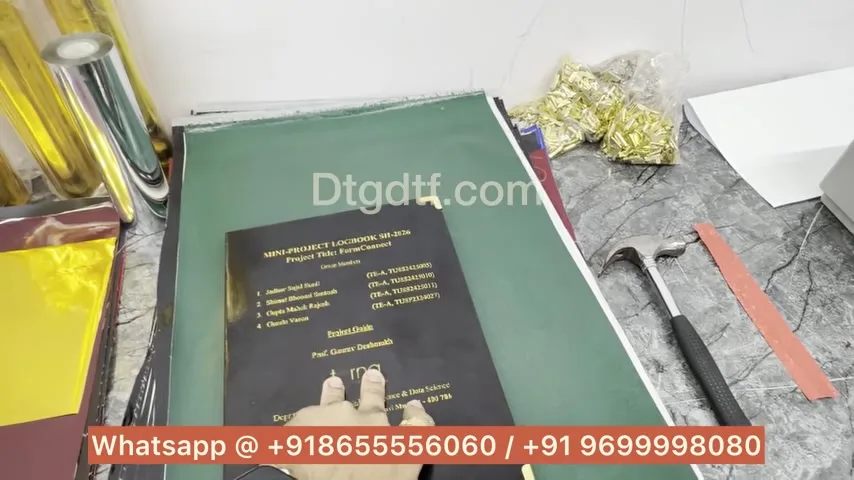
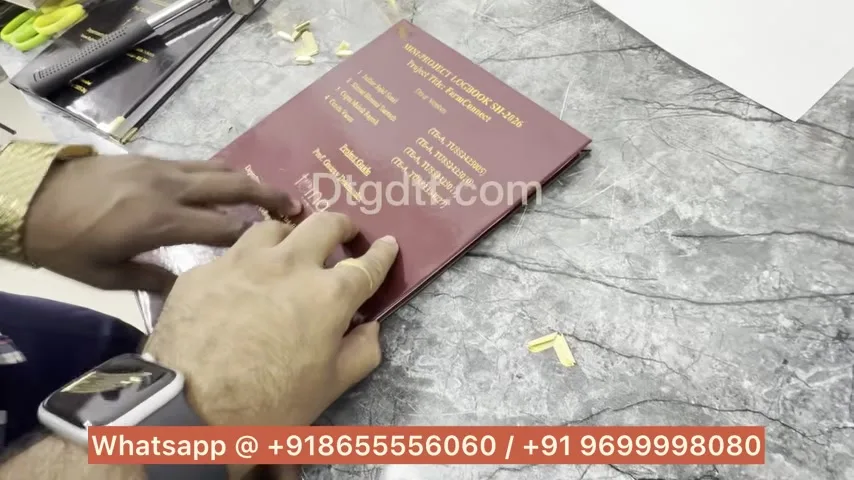
Project books, black books, thesis binding: every college town has this work, and it is done with a dot-matrix printer, a roll of gold foil and rexine. I filmed the whole thing from scratch, uncut, because the trick is in small things nobody tells you: which tape, which side of the rexine, how much margin, how to staple. Once you know them a book takes five to seven minutes. Here is the full video, March 2026, and every step in English.
What the video shows
- 0:02 — What we are making: gold embossing on black rexine
- 1:02 — Consumables: rexine, corners, foil, A3 gumming sheet, binding cloth, board
- 1:45 — The printer: a refurbished dot-matrix; rexine and foil quality matter for the head
- 2:42 — Cut the foil roll into sheets; do not scratch the release side
- 3:31 — Tape the foil to the clean side of the rexine with sublimation tape; 1.25-inch margins
- 4:50 — Why normal tape damages the head
- 5:22 — Load: the sensor pulls it in; set the lever; adjust the margin guide
- 6:32 — The file: bold, black, actual size, A4
- 6:59 — Embossing takes about a minute; peel the foil
- 8:11 — Alignment mistake and how to redo it on matte black
- 9:40 — Head and ribbon are the only wear parts
- 10:21 — Binding: mark, crease, gumming sheet, centre align
- 11:46 — Staple the spine: ends first, then centre
- 12:24 — Gumming sheets both sides; measure the spine; add the spine board
- 13:48 — Fold corners by experience; finish the cover
What you need
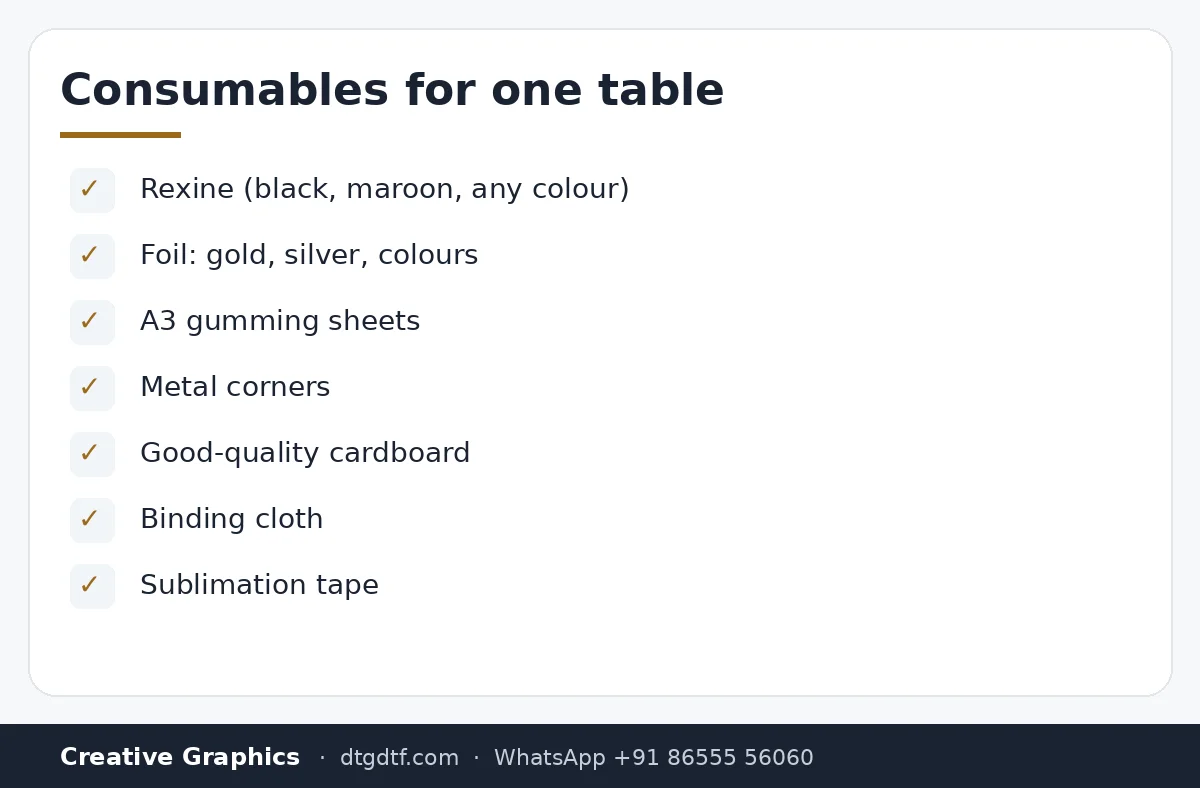
Rexine in the colour you want, the foil (gold, silver, or any colour), A3 gumming sheets, metal corners, good-quality cardboard, binding cloth, and sublimation tape. All of it is available locally, or from our store. Two things I say before starting: the rexine and the foil both touch the print head, so if you want the head to last and the output to be full, use good rexine and good foil. Cheap material costs you a head.
The printer
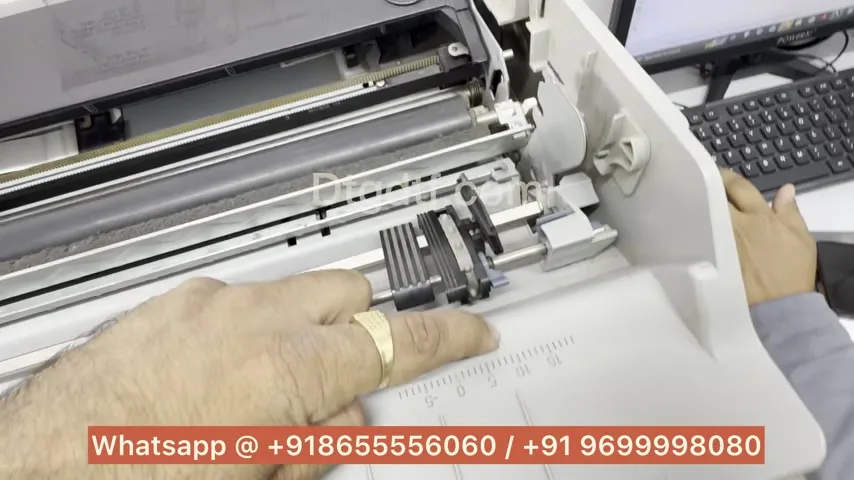
A dot-matrix printer, and mostly you will get it refurbished because it was built for paper. We are using it to emboss foil onto rexine. The two things that wear are the ribbon and the print head, both available refurbished or new. There is no rocket science in the machine. A new one works exactly the same as the refurbished one in the video.
Prepare the foil and rexine
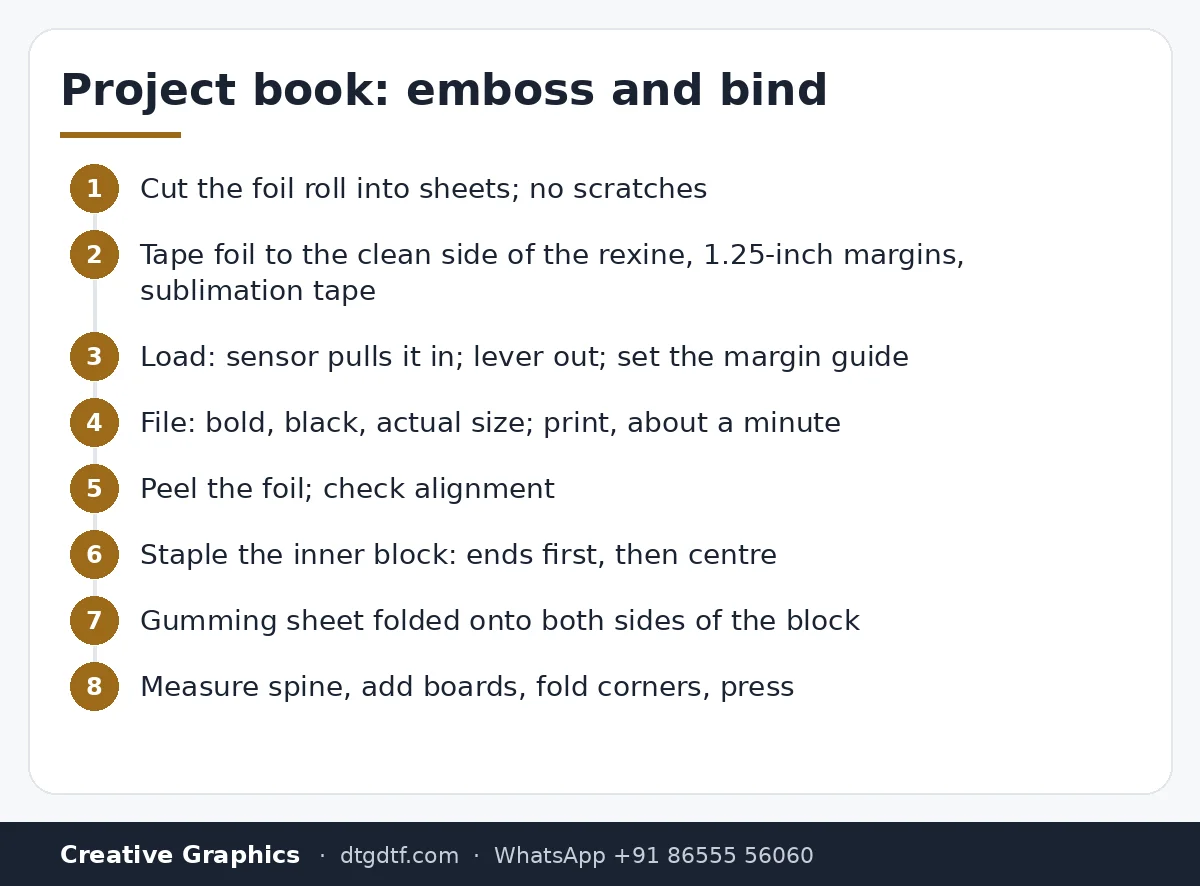
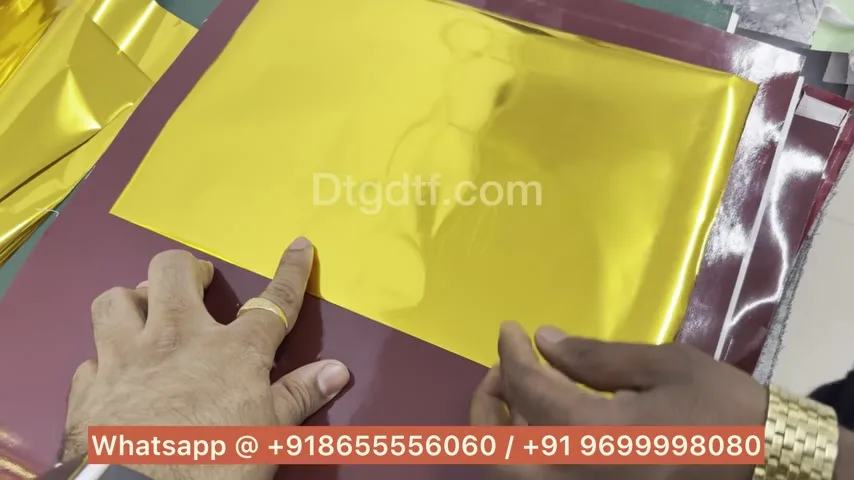
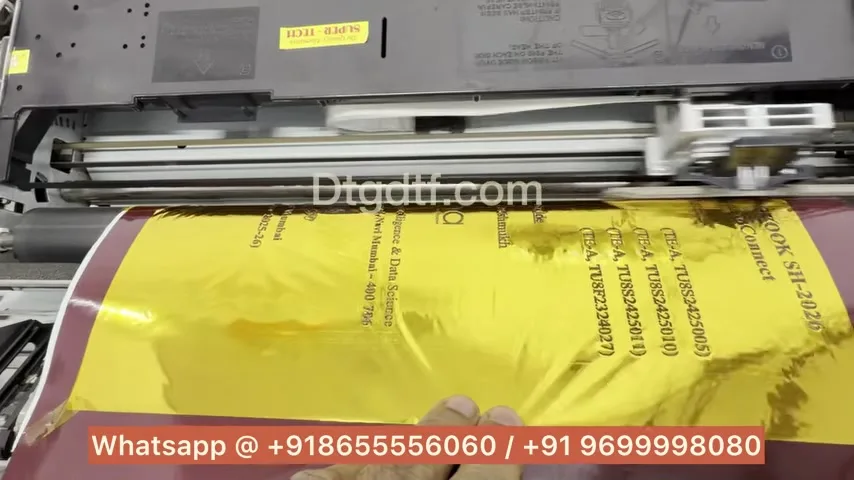
Cut the foil roll into sheets by folding it around the board and cutting one side; keep the pieces free of scratches, because the release side marks as soon as it is scratched and the gold ends up on your hands. Lay the rexine clean side up in landscape, place the foil, leave about an inch and a quarter margin on all four sides, and tape it down with sublimation tape. Normal tape leaves its gum on the rexine and, if you print over it, the gum does not emboss and can damage the head. The tape must be straight, no folds.
Emboss
The printer has a sensor; push the sheet in and it pulls it. Lift it slightly so it rides the roller, set the lever to the out position, and move the margin guide where you want the print. In the file, select the printer model, keep all text bold and black; coloured text embosses faint. Actual size, A4 here. Print. It takes hardly a minute. Hold the sheet gently as it goes through, then peel the foil off. The tape's gum never touches the rexine, which is the whole point of the tape. If you see lines in the embossing, the head needs attention.
The alignment mistake, on purpose
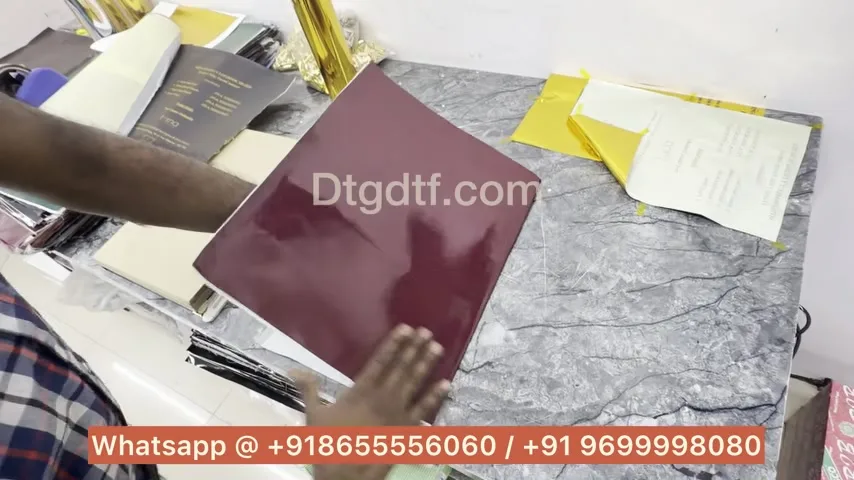
My first copy printed a little low, because I started the print from the wrong edge. I left it in and did a second one on matte black vinyl to show the fix: align from the other side, push the guide right for extra margin. These margins are learnt on the table; there is no standard measurement to give you.
Bind
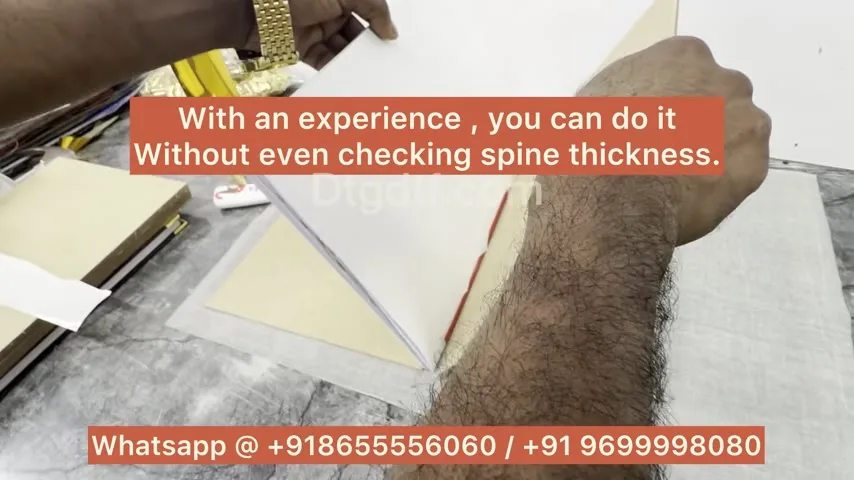
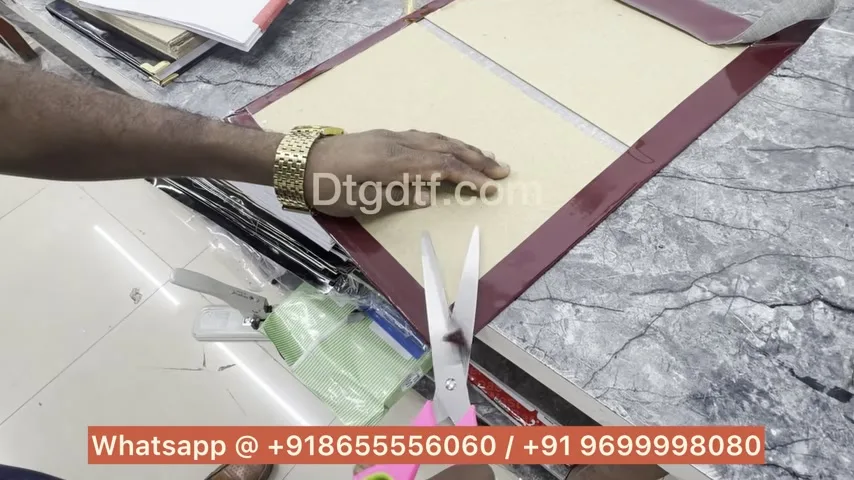
Mark the cover: align vertically, push to the top, fold a crease. Gumming sheets come with gum ready; non-gummed sheets with glue take too long and I do not recommend them. Attach at the mark, straighten, press, and check the centre. Collect the printed inner pages and staple the spine; some people stitch, we staple. Staple the two ends first, then the centre, or it goes crooked. Fold a gumming sheet down the middle and stick it to both sides of the block; it gives a clean binding with no wet glue to dry. Measure the spine thickness, add the second board, keep it vertical. With experience you do it without checking the thickness at all.
Where to get the material
The embossing printer package, imported gold foil, A3 gumming sheets, metal corners and rexine are on the store. The business side is in the rexine and book binding guide.
Frequently asked questions
Which printer embosses foil on rexine?
A dot-matrix printer, usually refurbished. Only the ribbon and print head wear; both are replaceable.
Which tape do I use to hold the foil?
Sublimation tape. Normal tape leaves gum on the rexine and can damage the head if printed over.
How should the file be set up?
All text bold and black, actual size. Coloured text embosses faint.
How long does one book take?
About a minute to emboss and five to seven minutes to bind once you know the steps.
Staple or stitch the spine?
We staple: the two ends first, then the centre, so it stays straight.
Gumming sheet or glue?
Gumming sheet. Glue is wet, slow to stick and slow to dry.
Related guides
Starting a binding business?
Message on WhatsApp for the printer, foil and rexine as one package.
WhatsApp +91 86555 56060